 Bahasa

Sand-Coated Metal Roof Tile Installation: A Guide to Roofing Frames and Joints
Have you ever discovered a leak in the roof of your newly built home, even though it had only been raining for a few minutes?
Many construction workers assume that installing lightweight metal roofing is a simple task that only requires randomly driving in a few nails or screws.
In reality, small mistakes in roof pitch or incorrectly installed fasteners and flashing can compromise the roofing system and increase the risk of leaks.
In this article, we explore professional installation guidelines for sand-coated metal roof tiles to help minimize the risk of water infiltration.
Essential Roofing Frame and Roof Pitch Requirements
Installing sand-coated metal roof tiles requires careful attention to sheet positioning, overlap dimensions, and the direction of rainwater flow. Ensure that every sheet is installed according to the manufacturer's instructions so that joints remain properly protected and rainwater drains efficiently toward the gutters.
Before installing the roofing sheets, ensure that the supporting structure, whether made of light-gauge steel or timber, meets the following technical requirements:
- Accurate Batten Spacing: Set the roof batten spacing according to the manufacturer's specified installation module and the effective coverage dimensions of the roofing sheets.
- Minimum Roof Pitch: Check the manufacturer's minimum recommended roof pitch. A slope of approximately 15–20 degrees may be suitable for some products, but the correct minimum depends on the roofing profile, joint design, and installation system.
- Structural Frame Strength: Ensure that the main rafters and supporting members can withstand the applicable wind loads, roofing loads, and temporary construction loads during installation.
Read our guide to Sand-Coated Metal Roof Tiles vs. Concrete, Clay, and Asphalt Roofing to compare the characteristics of different roofing materials.
Installation Sequence and Joint Treatment
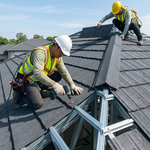
Installation of sand-coated metal roofing sheets generally begins at the bottom edge of the roof, known as the eaves, and proceeds upward toward the ridge.
The following critical steps should be observed by roofing installers:
- Install the Sheets in the Correct Direction: Begin at the lower corner of the roof and follow the manufacturer's recommended installation sequence. Consider the prevailing wind direction when determining the overlap arrangement to help reduce the risk of wind-driven rain entering the joints.
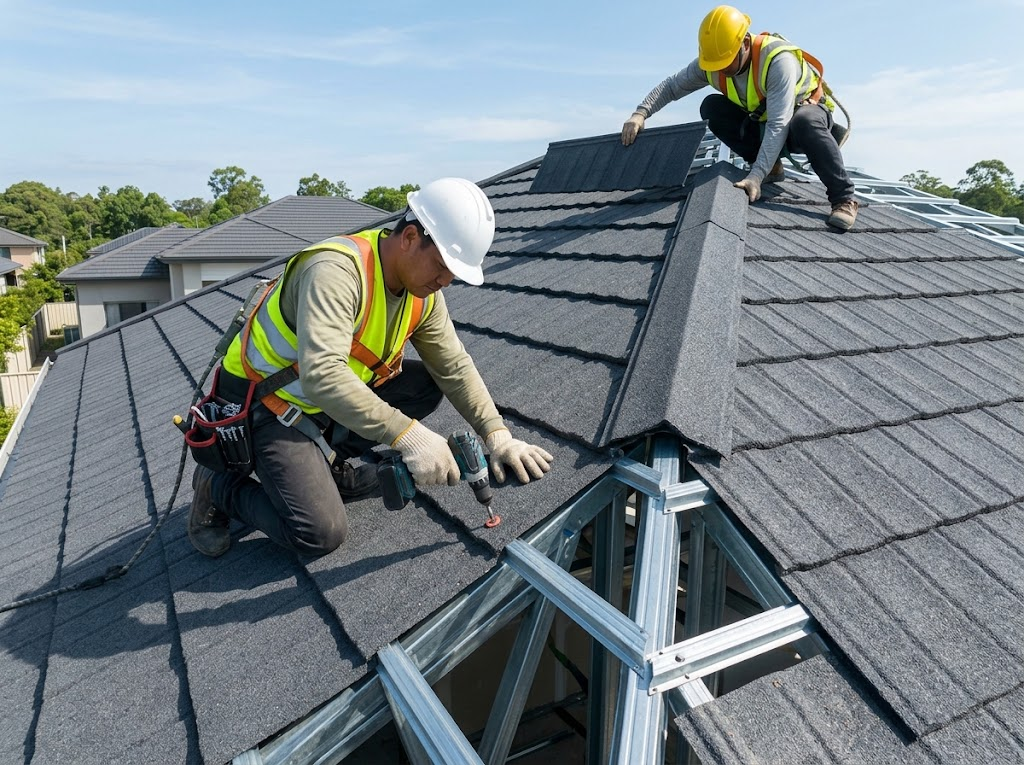
- Use Self-Drilling Screws with Sealing Washers: Use suitable self-drilling roofing screws fitted with rubber sealing washers to help seal the fastener holes against water ingress. Follow the specified fastener locations and tightening requirements.
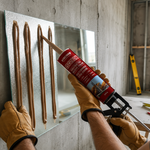
- Install Ridge Caps and Edge Flashing: Cover the roof ridge with compatible ridge-cap accessories. At wall junctions, roof edges, and other vulnerable intersections, use suitable sealant products where required by the roofing system to help prevent water from entering through gaps.
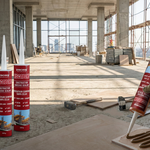
For guidance on achieving a neat and effective seal, read our article on How to Choose the Right Sealant.
Common Installation Mistakes That Can Cause Roof Leaks
To reduce the risk of leaks in sand-coated metal roofing systems, pay attention to the following common installation mistakes:
- Stepping on Unsupported Sheet Areas: Walking on the middle of a roofing sheet without adequate support can dent its profile and damage the intended water drainage path. Follow the manufacturer's instructions for safe access and foot placement.
- Incorrect Screw Tightening: Overtightening can damage or deform the rubber sealing washer, while undertightening may leave gaps that allow rainwater to enter through the fastener hole.
- Ignoring Flashing at Wall Junctions: Failing to install appropriate flashing where the roof meets a vertical wall can create vulnerable points for water infiltration.
To learn more about the performance benefits of this roofing material, read our article on Sand-Coated Metal Roof Tiles for Heat, Rain, and Noise Protection.
Find Quality Roofing Materials at Batara Group
A well-installed roofing system requires both skilled workmanship and high-quality materials manufactured to consistent specifications.
Batara Group offers a selection of roofing materials and complementary products for a wide range of construction projects, including sand-coated metal roof tiles.
We recommend exploring Flatz Roof, a roofing product featuring a durable granular coating, along with our range of protective sealant products for roofing joints and connections.
The Batara Group team can help you discuss roofing frame specifications and estimate the materials required for your project.
Contact Batara Group today to find the right roofing materials for a durable, attractive, and leak-resistant roof!