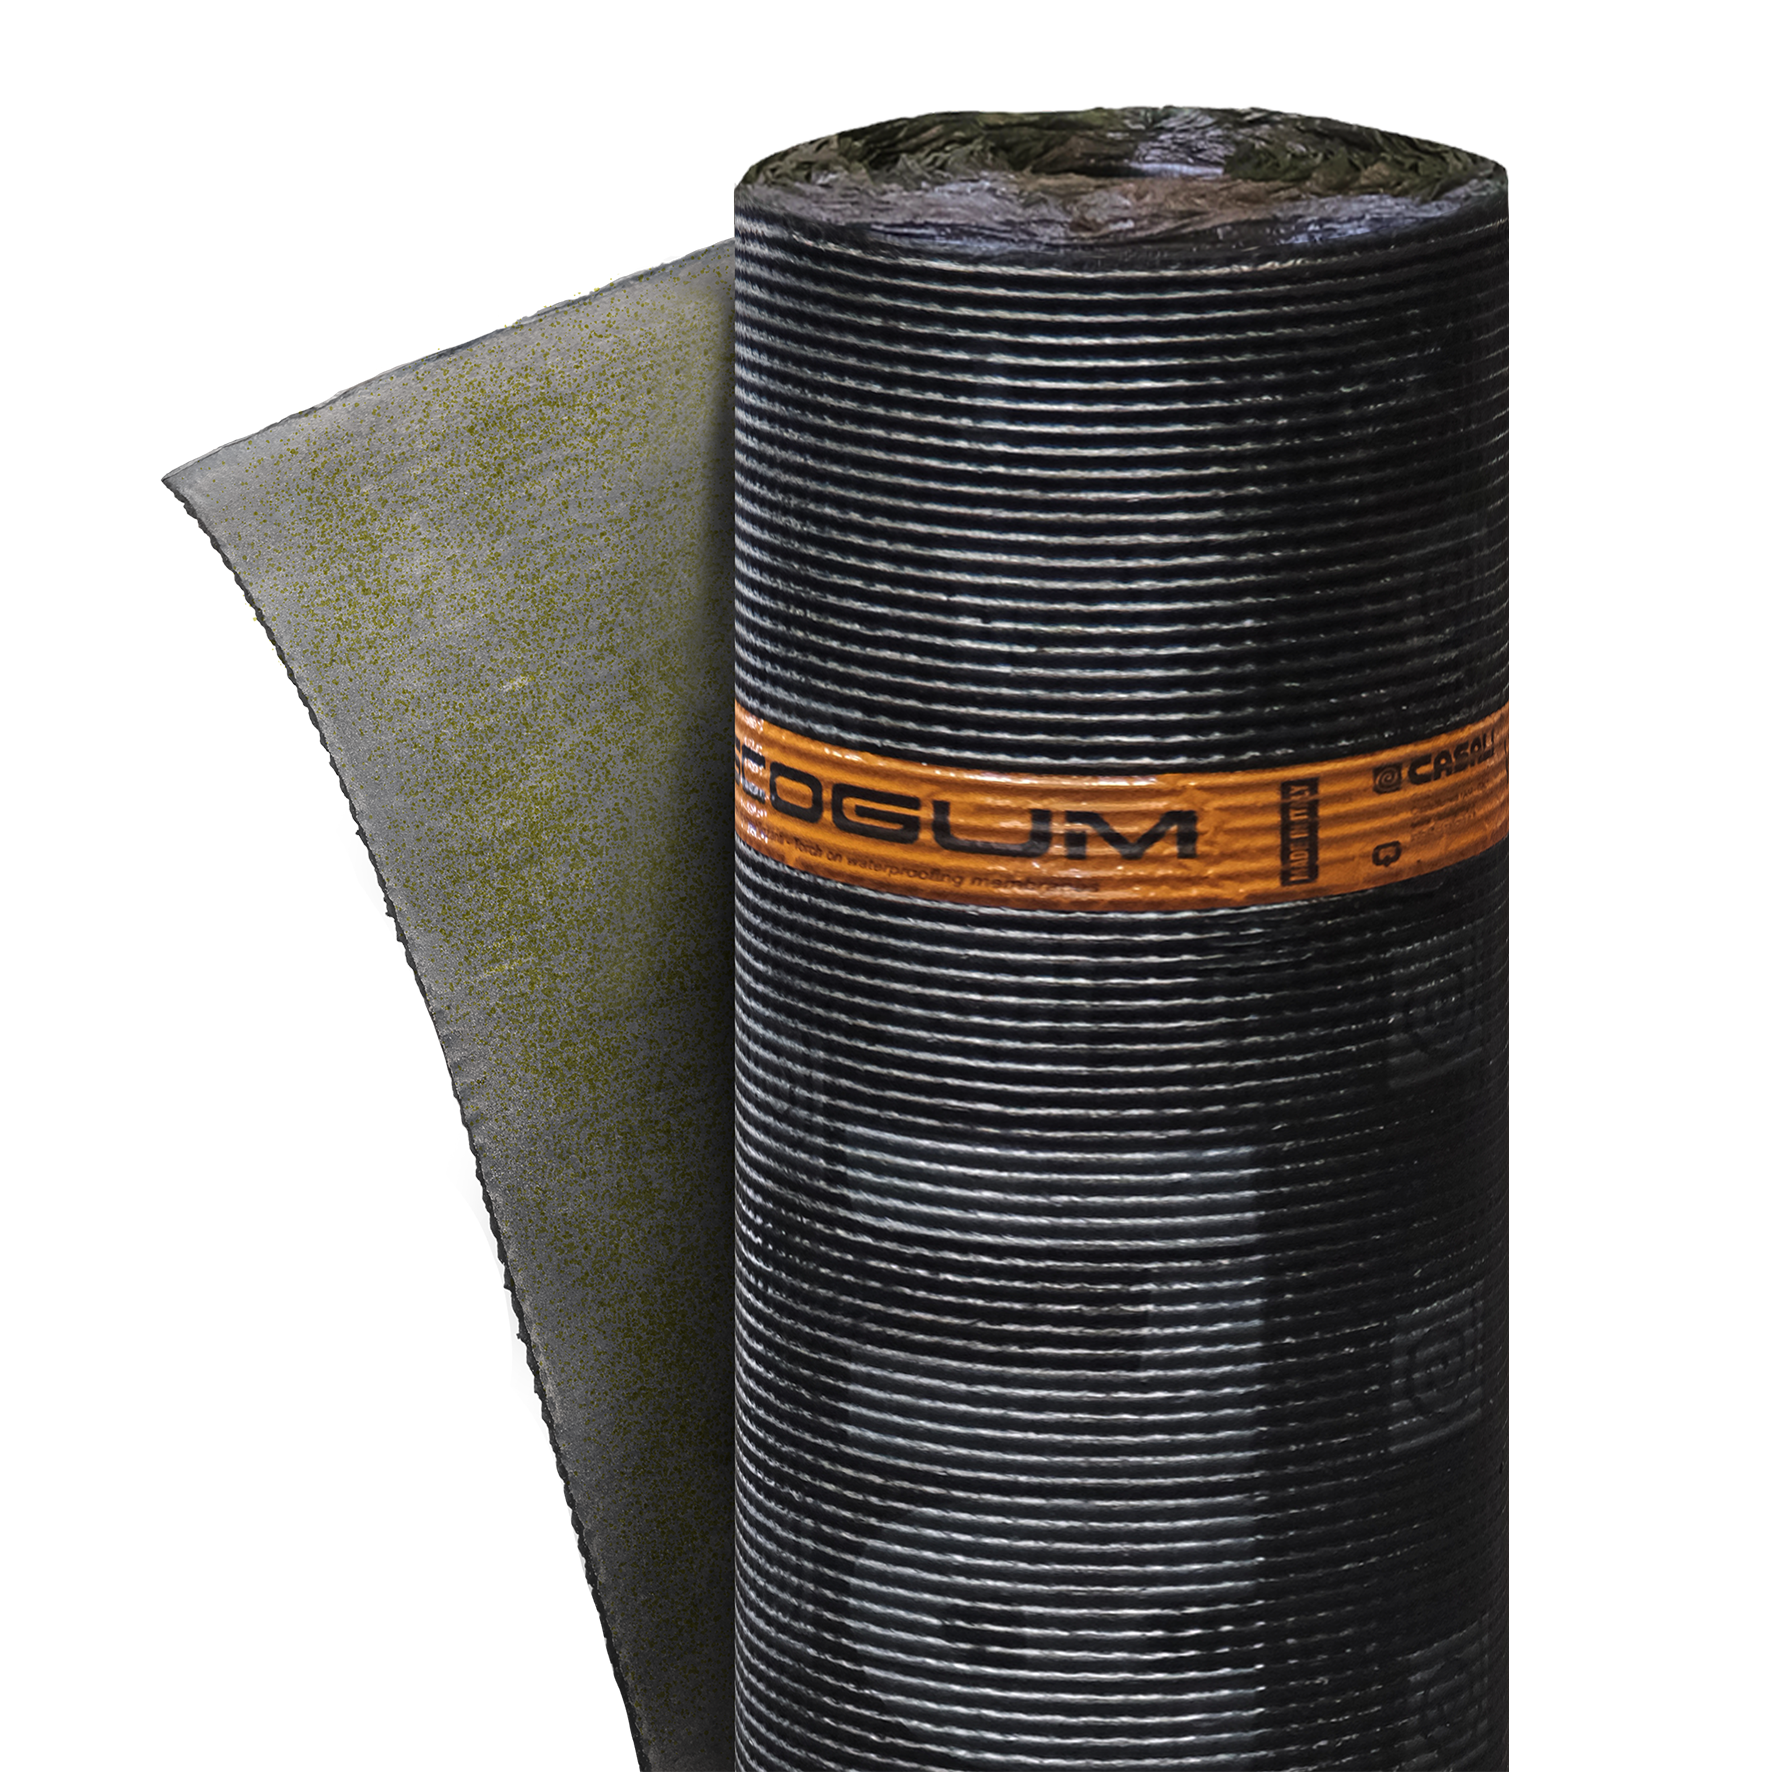
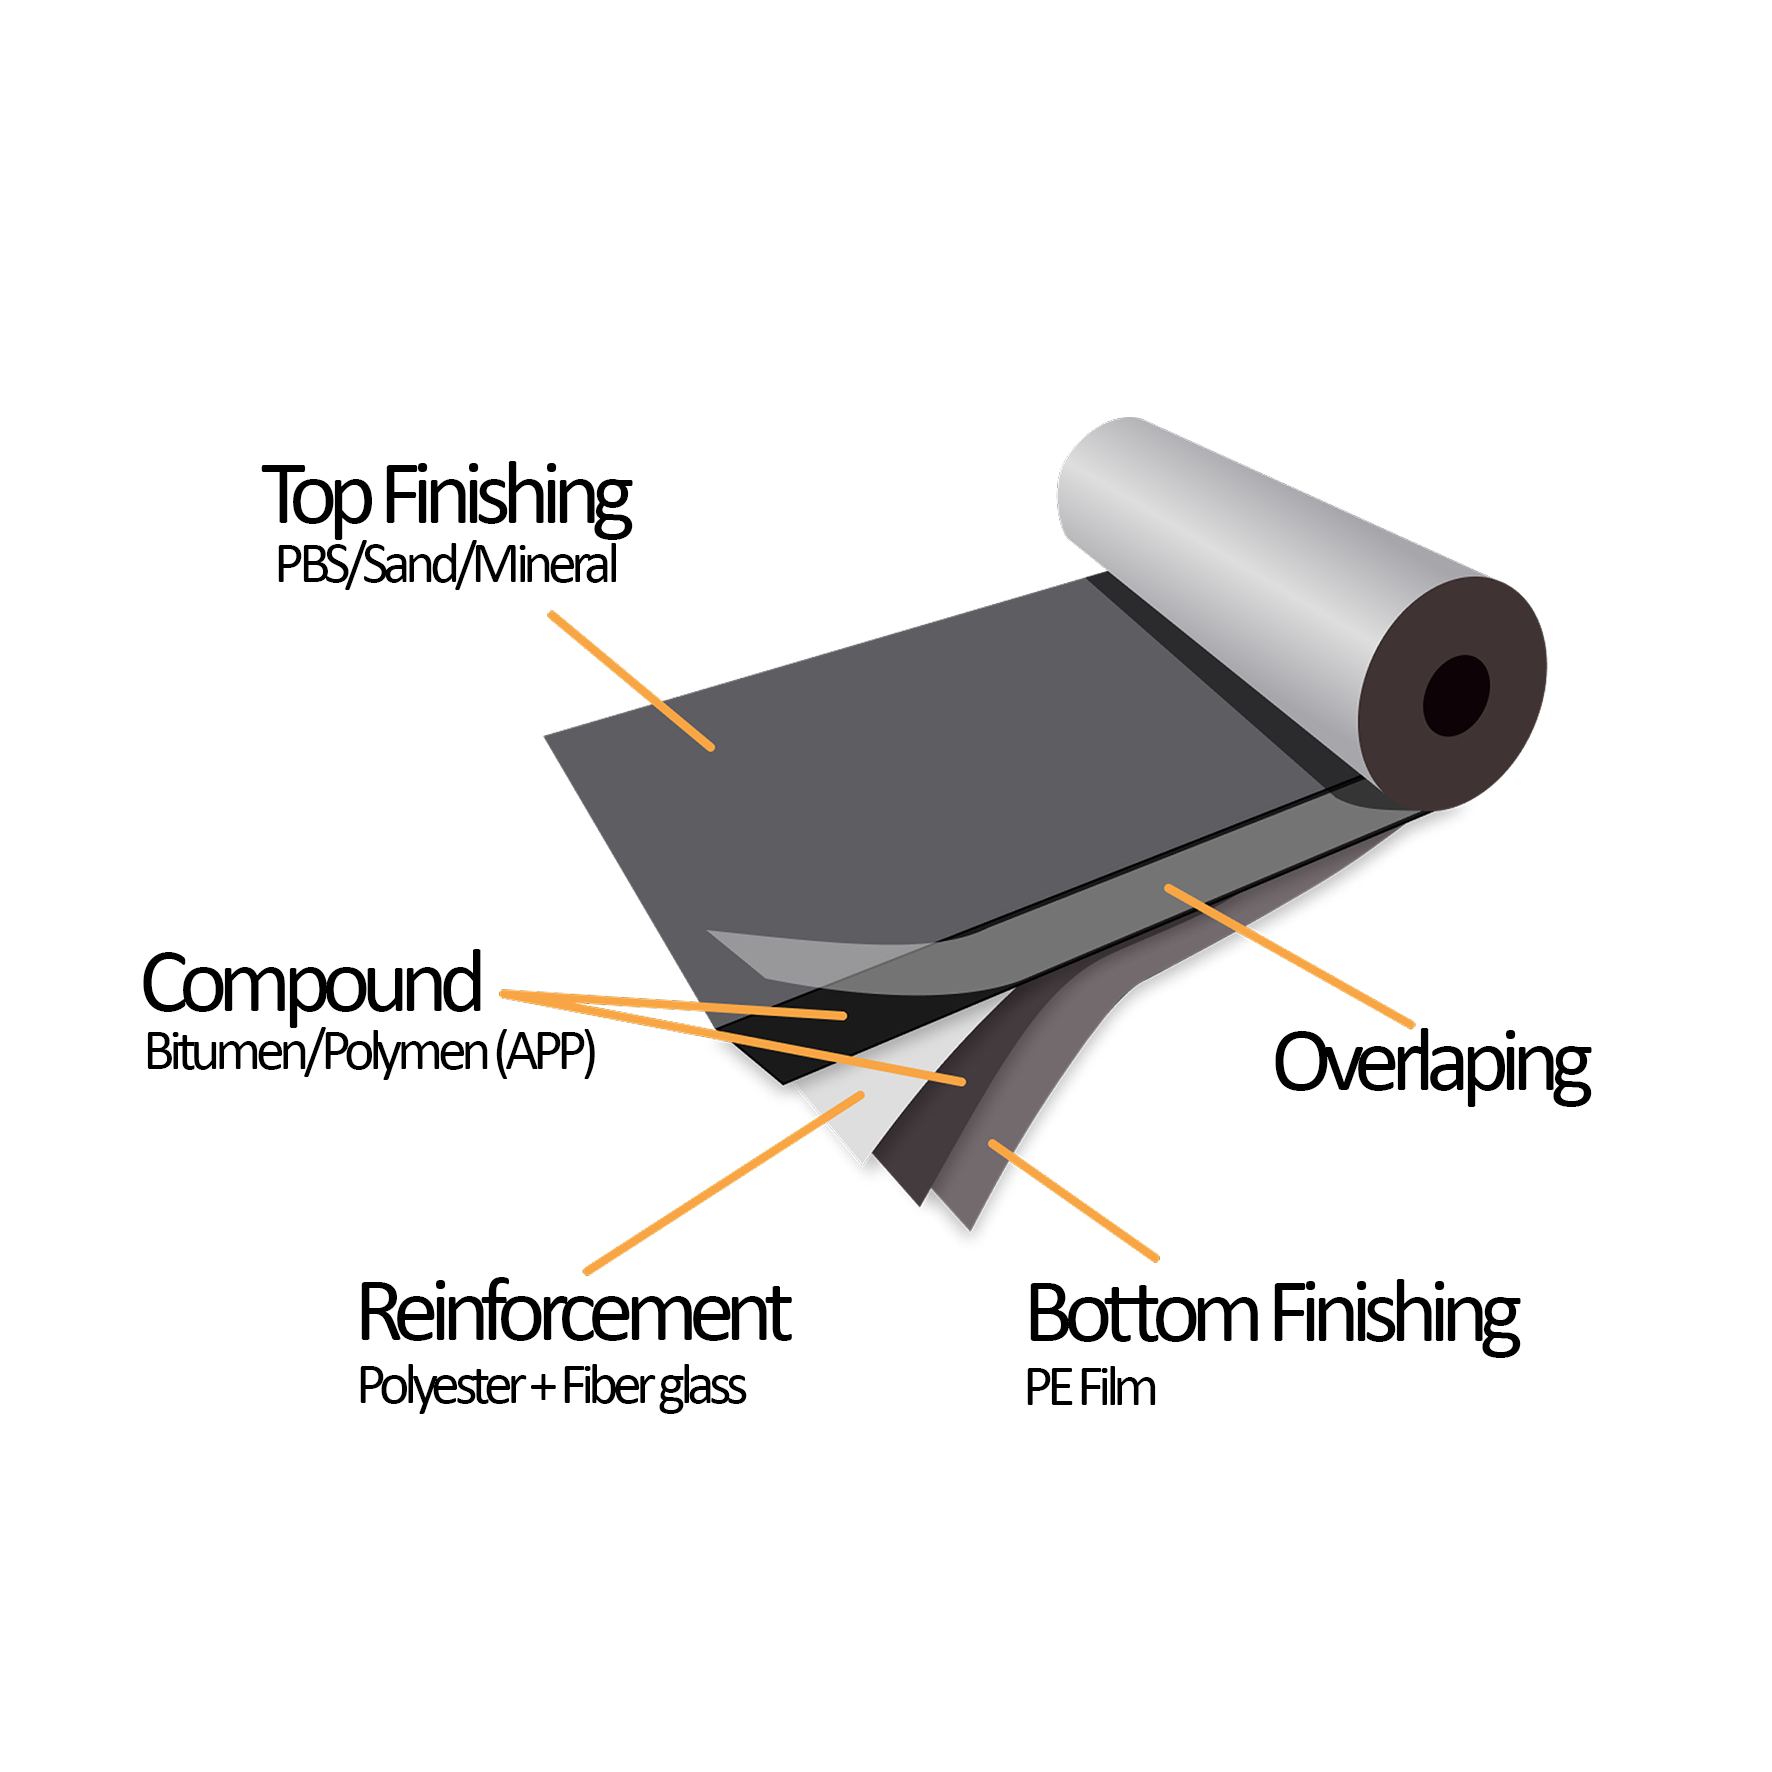
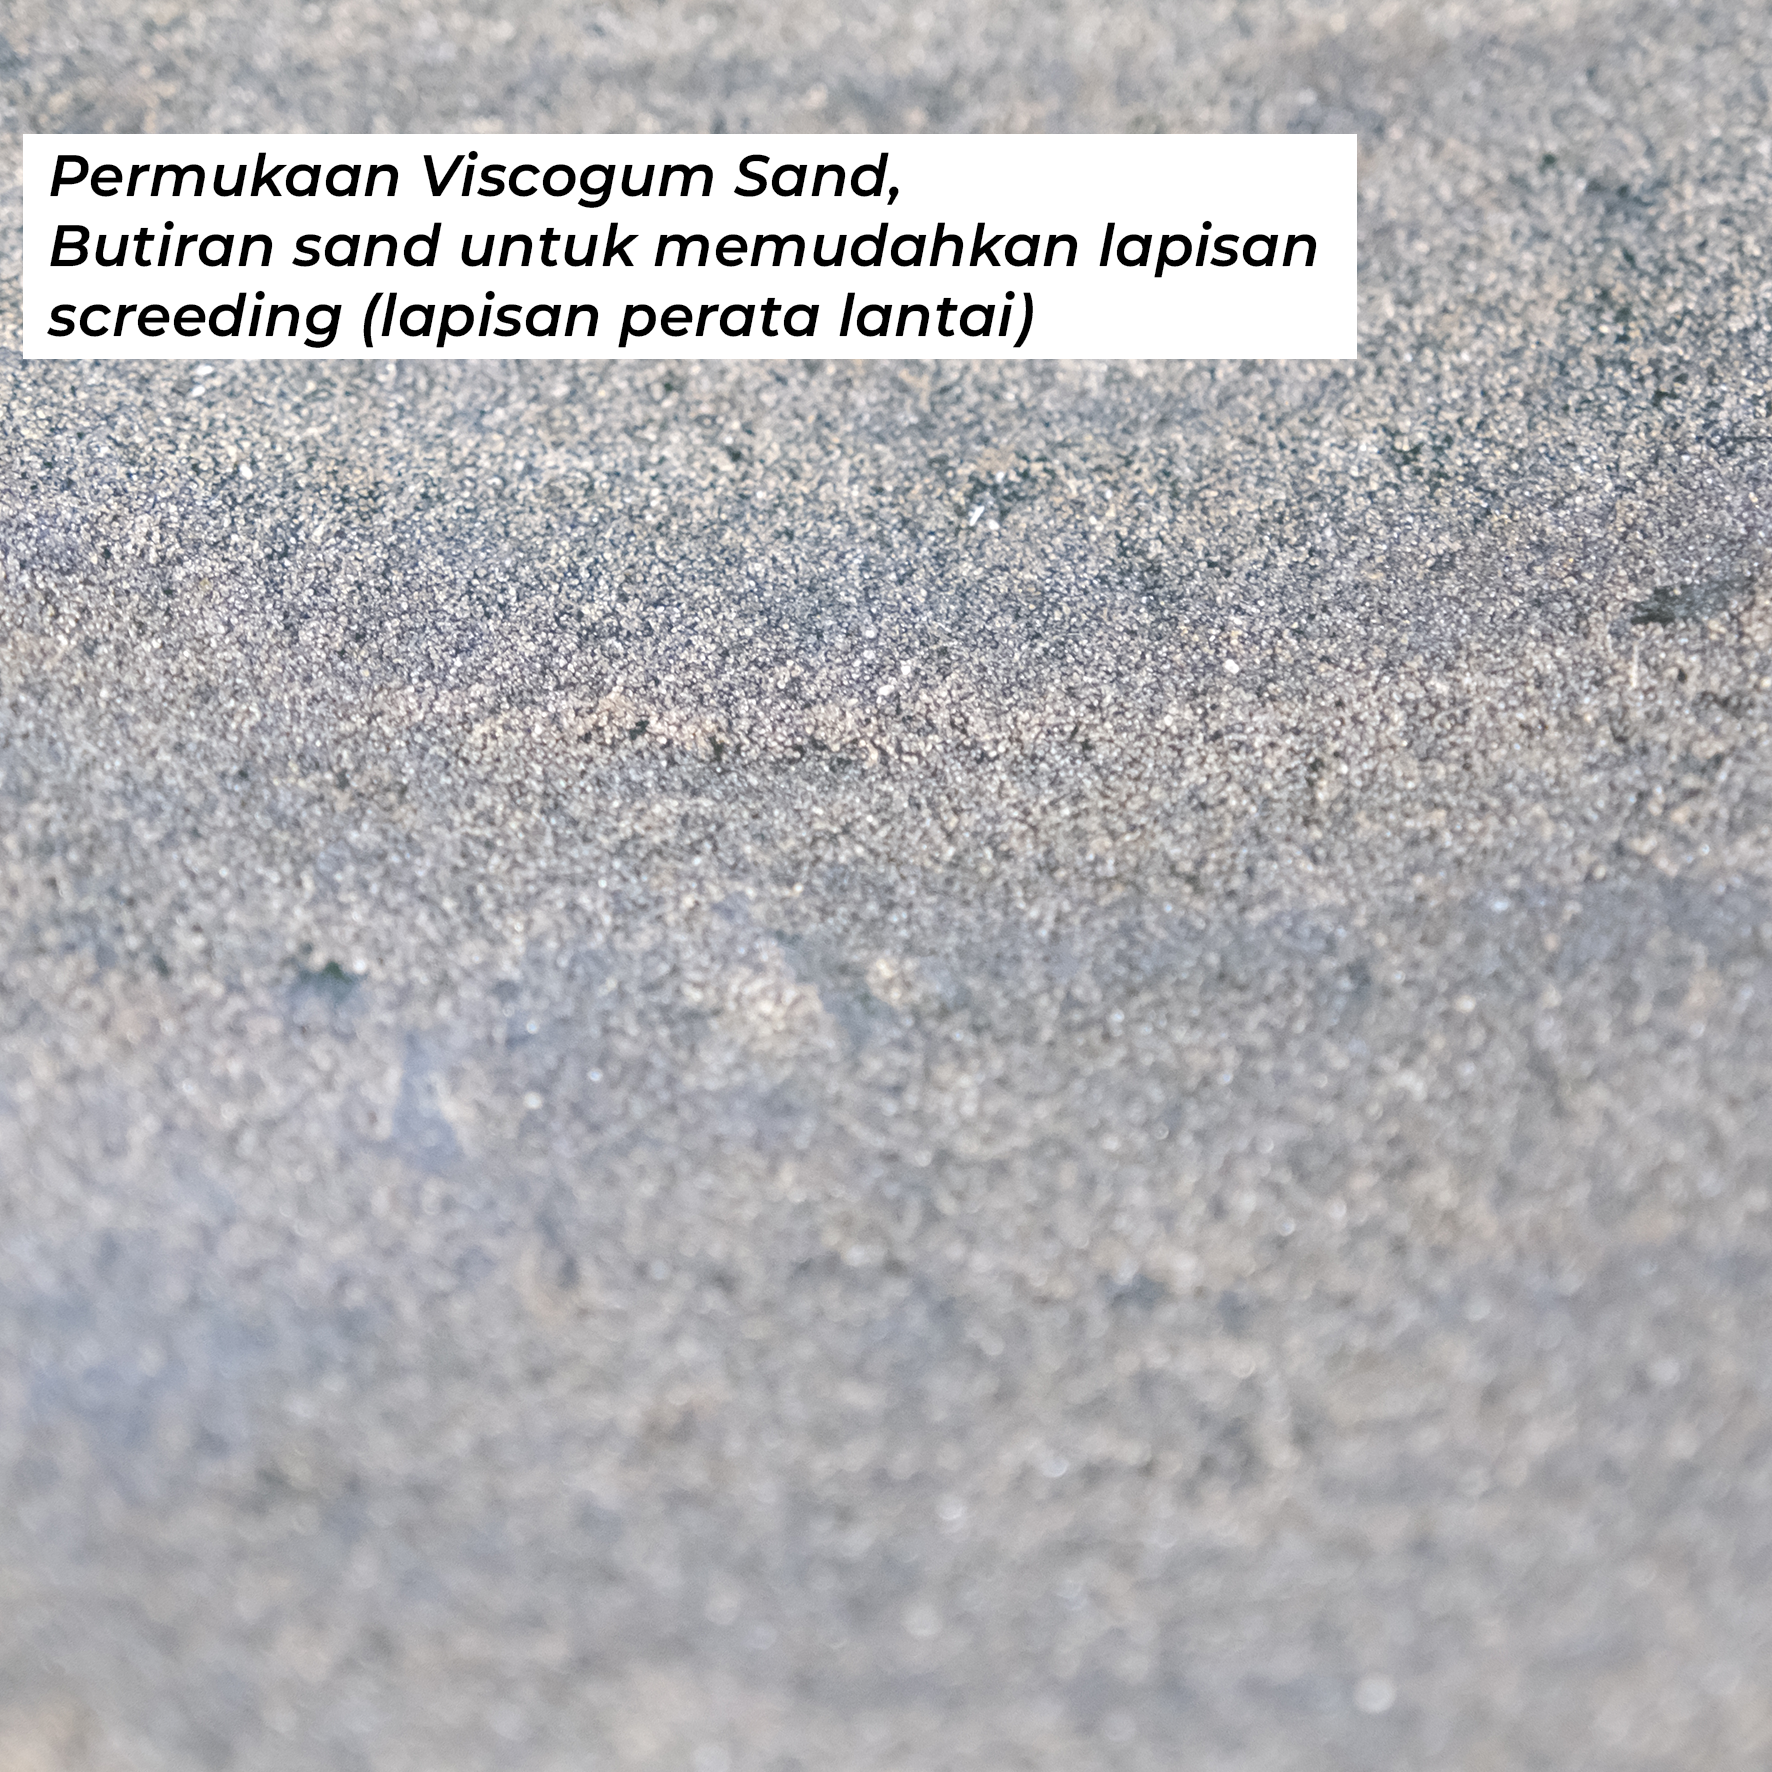
Casali Viscogum Sand is a waterproofing membrane featuring a sand-textured surface. It is designed for non-exposed (internal) areas or applications requiring a screed layer.
- Roll Size: 1 m × 10 m
- Roll Weight: 48 kg
- Thickness: 4 mm

Developed using Italian technology that has been refined since 1960.

Reinforced with flexible and durable polyester fibers for enhanced strength.

Designed to remain stable under high temperatures without deformation.

Maintains performance even under direct UV exposure.

Provides excellent bonding when applied to concrete surfaces.

Remains durable even under heat, rain, and strong winds.
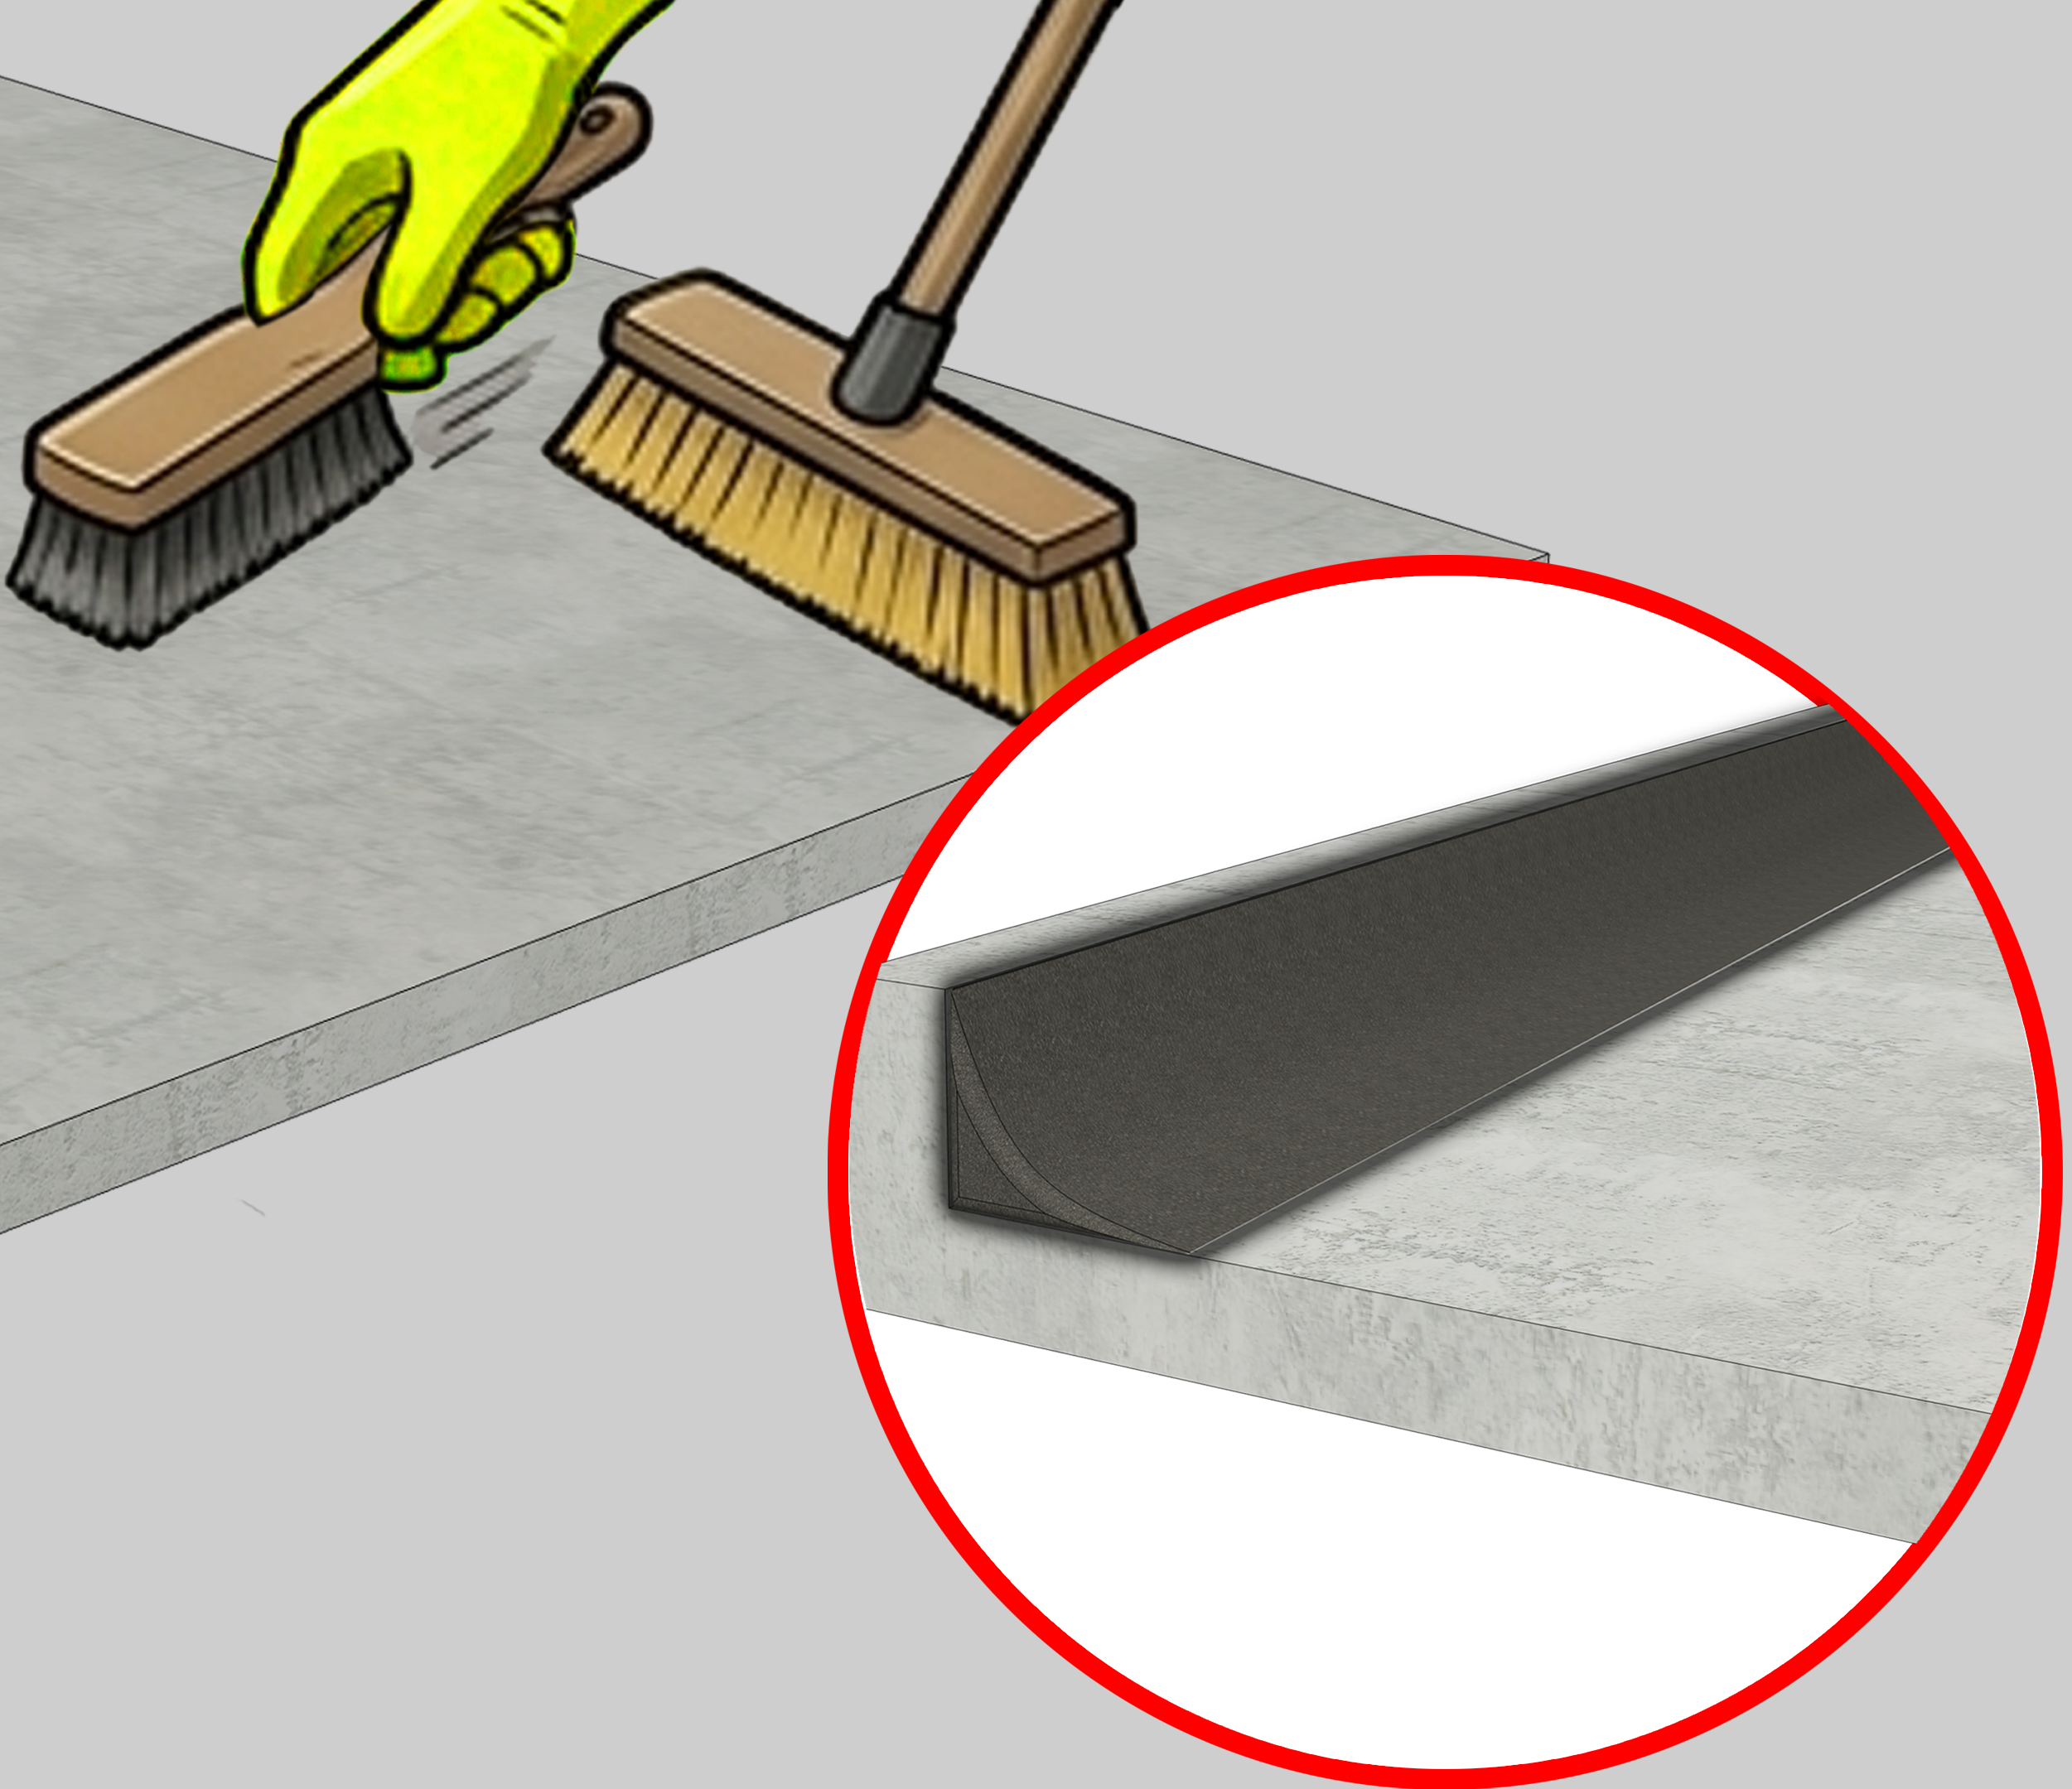
1. Ensure the concrete substrate is clean, dry, and free from dust, loose debris, oil, grease, and standing water. Form a cement mortar fillet (cant strip) at all floor-to-wall junctions to create a smooth transition and prevent the membrane from bending sharply at corners.
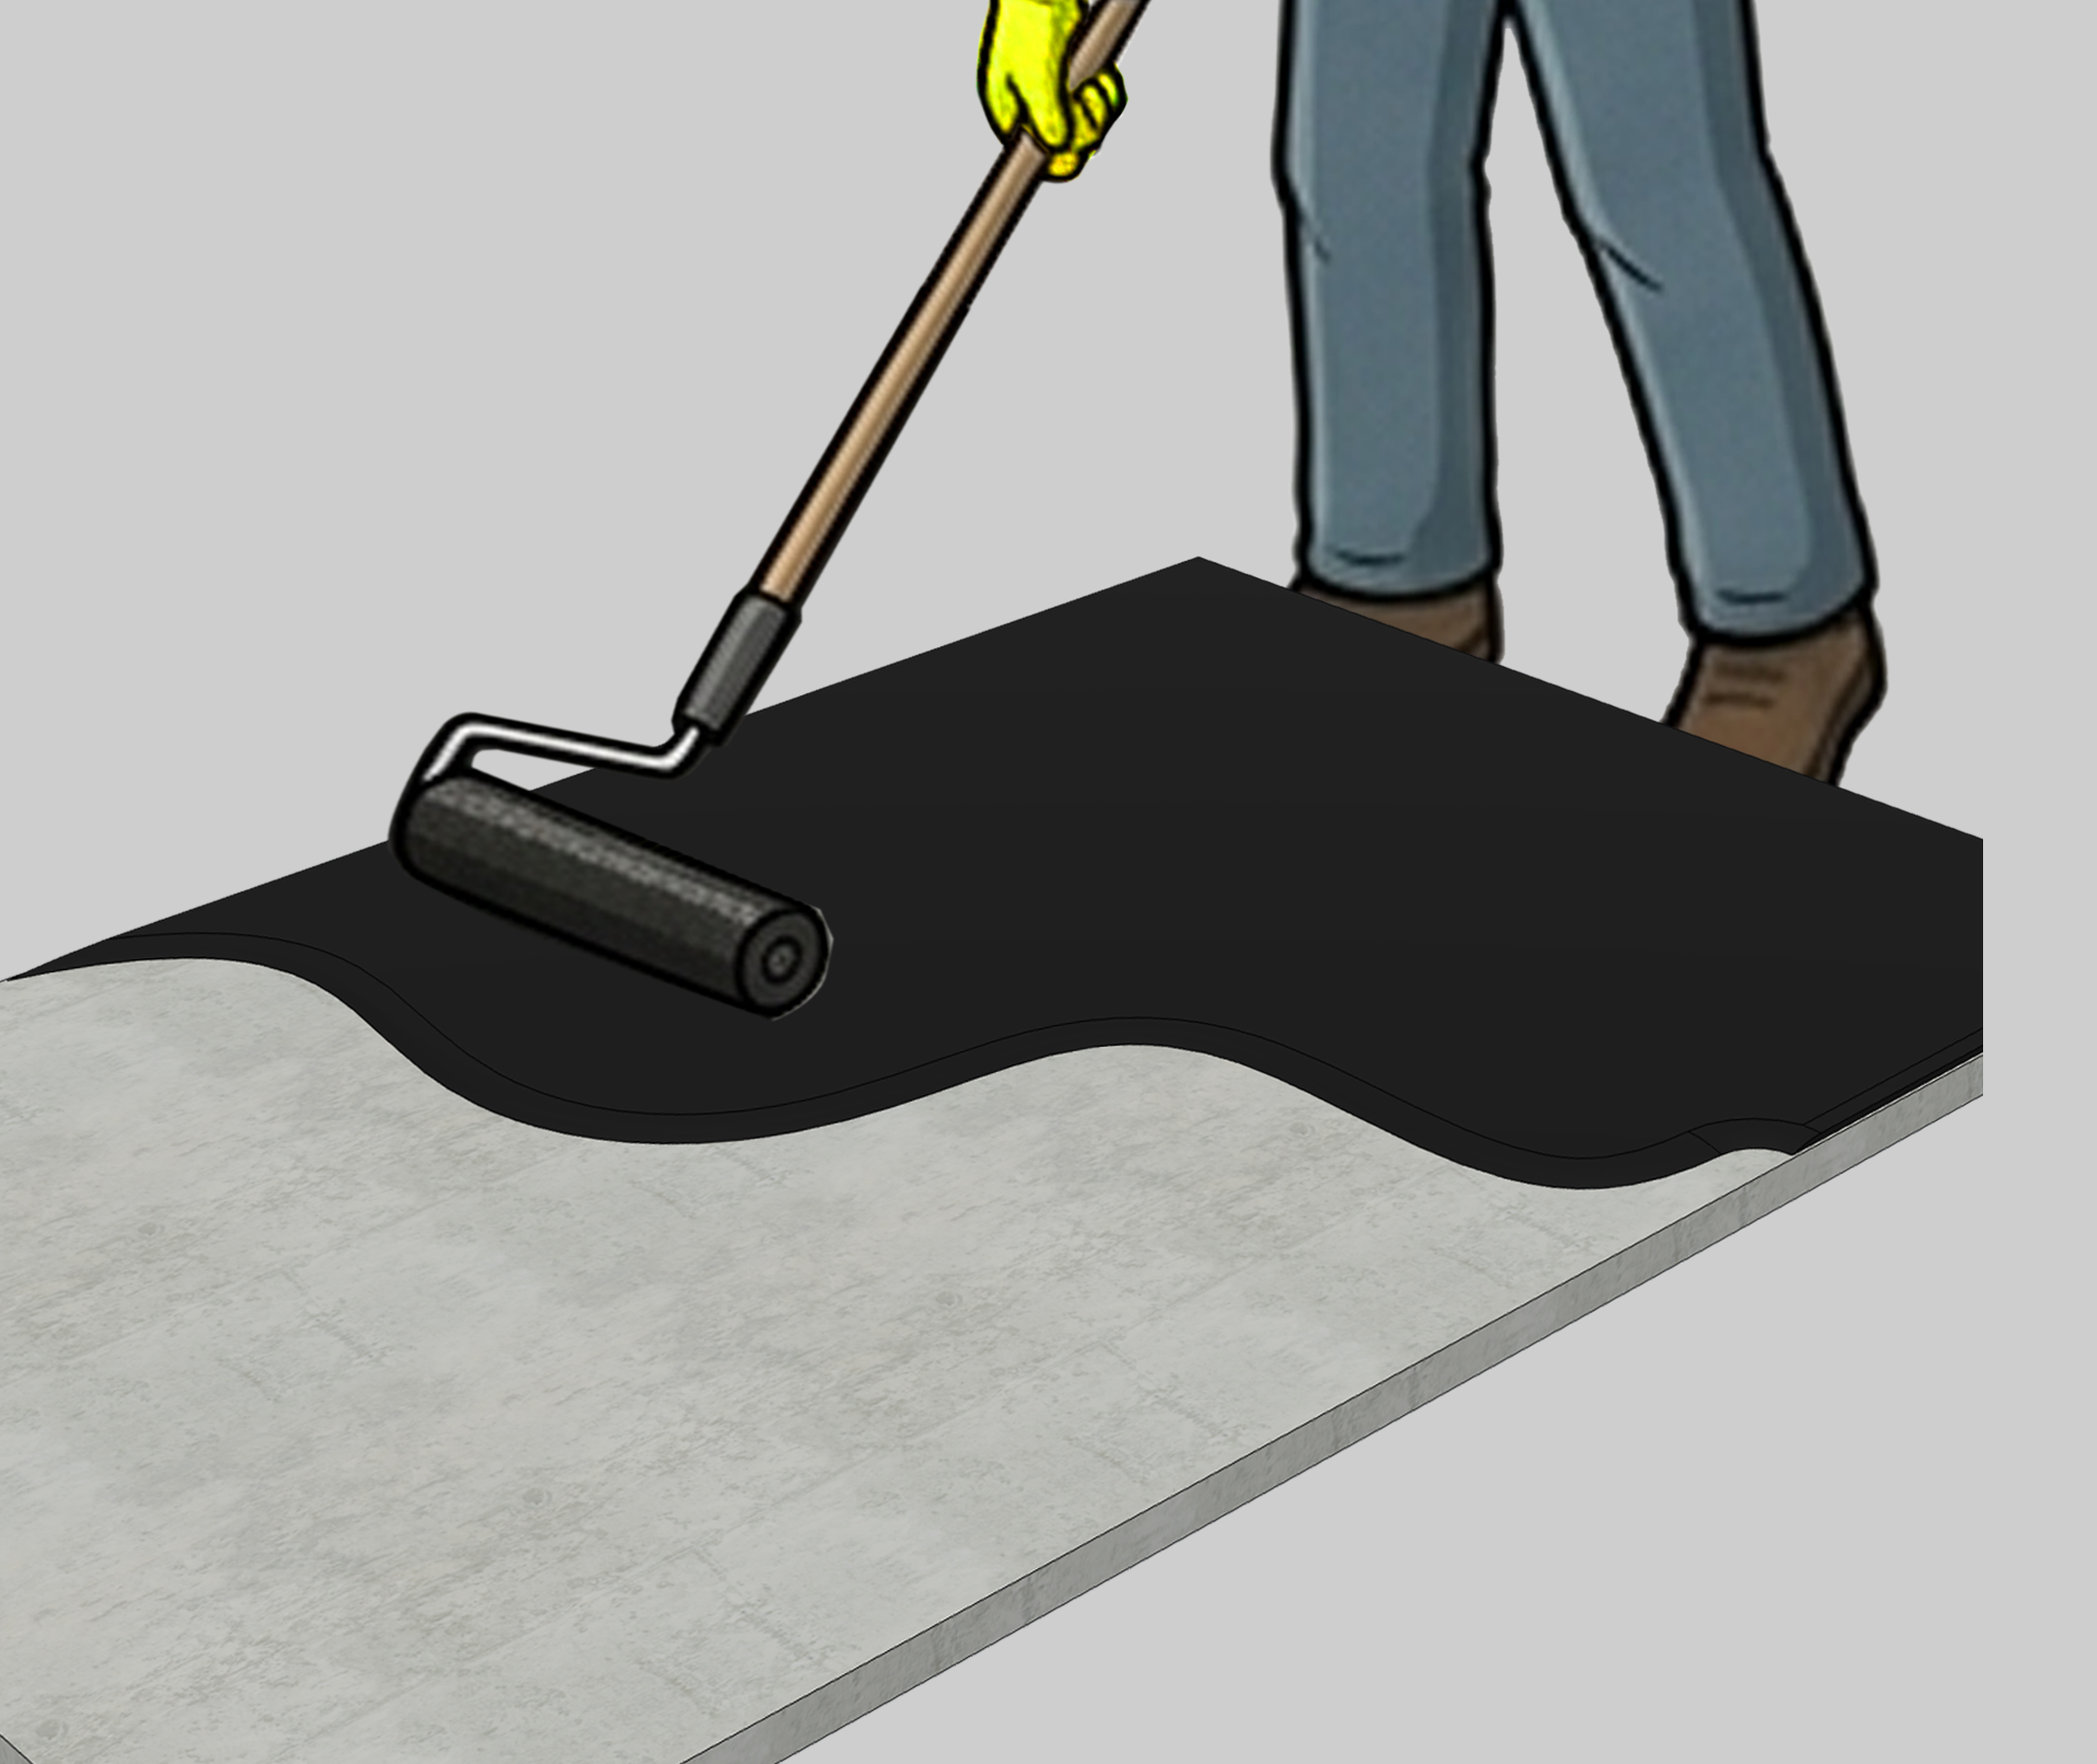
2. Apply bitumen primer evenly over the entire surface. Allow it to dry to a tack-free condition (approximately 2–4 hours, depending on weather conditions). The primer acts as a bonding layer between the concrete substrate and the membrane.
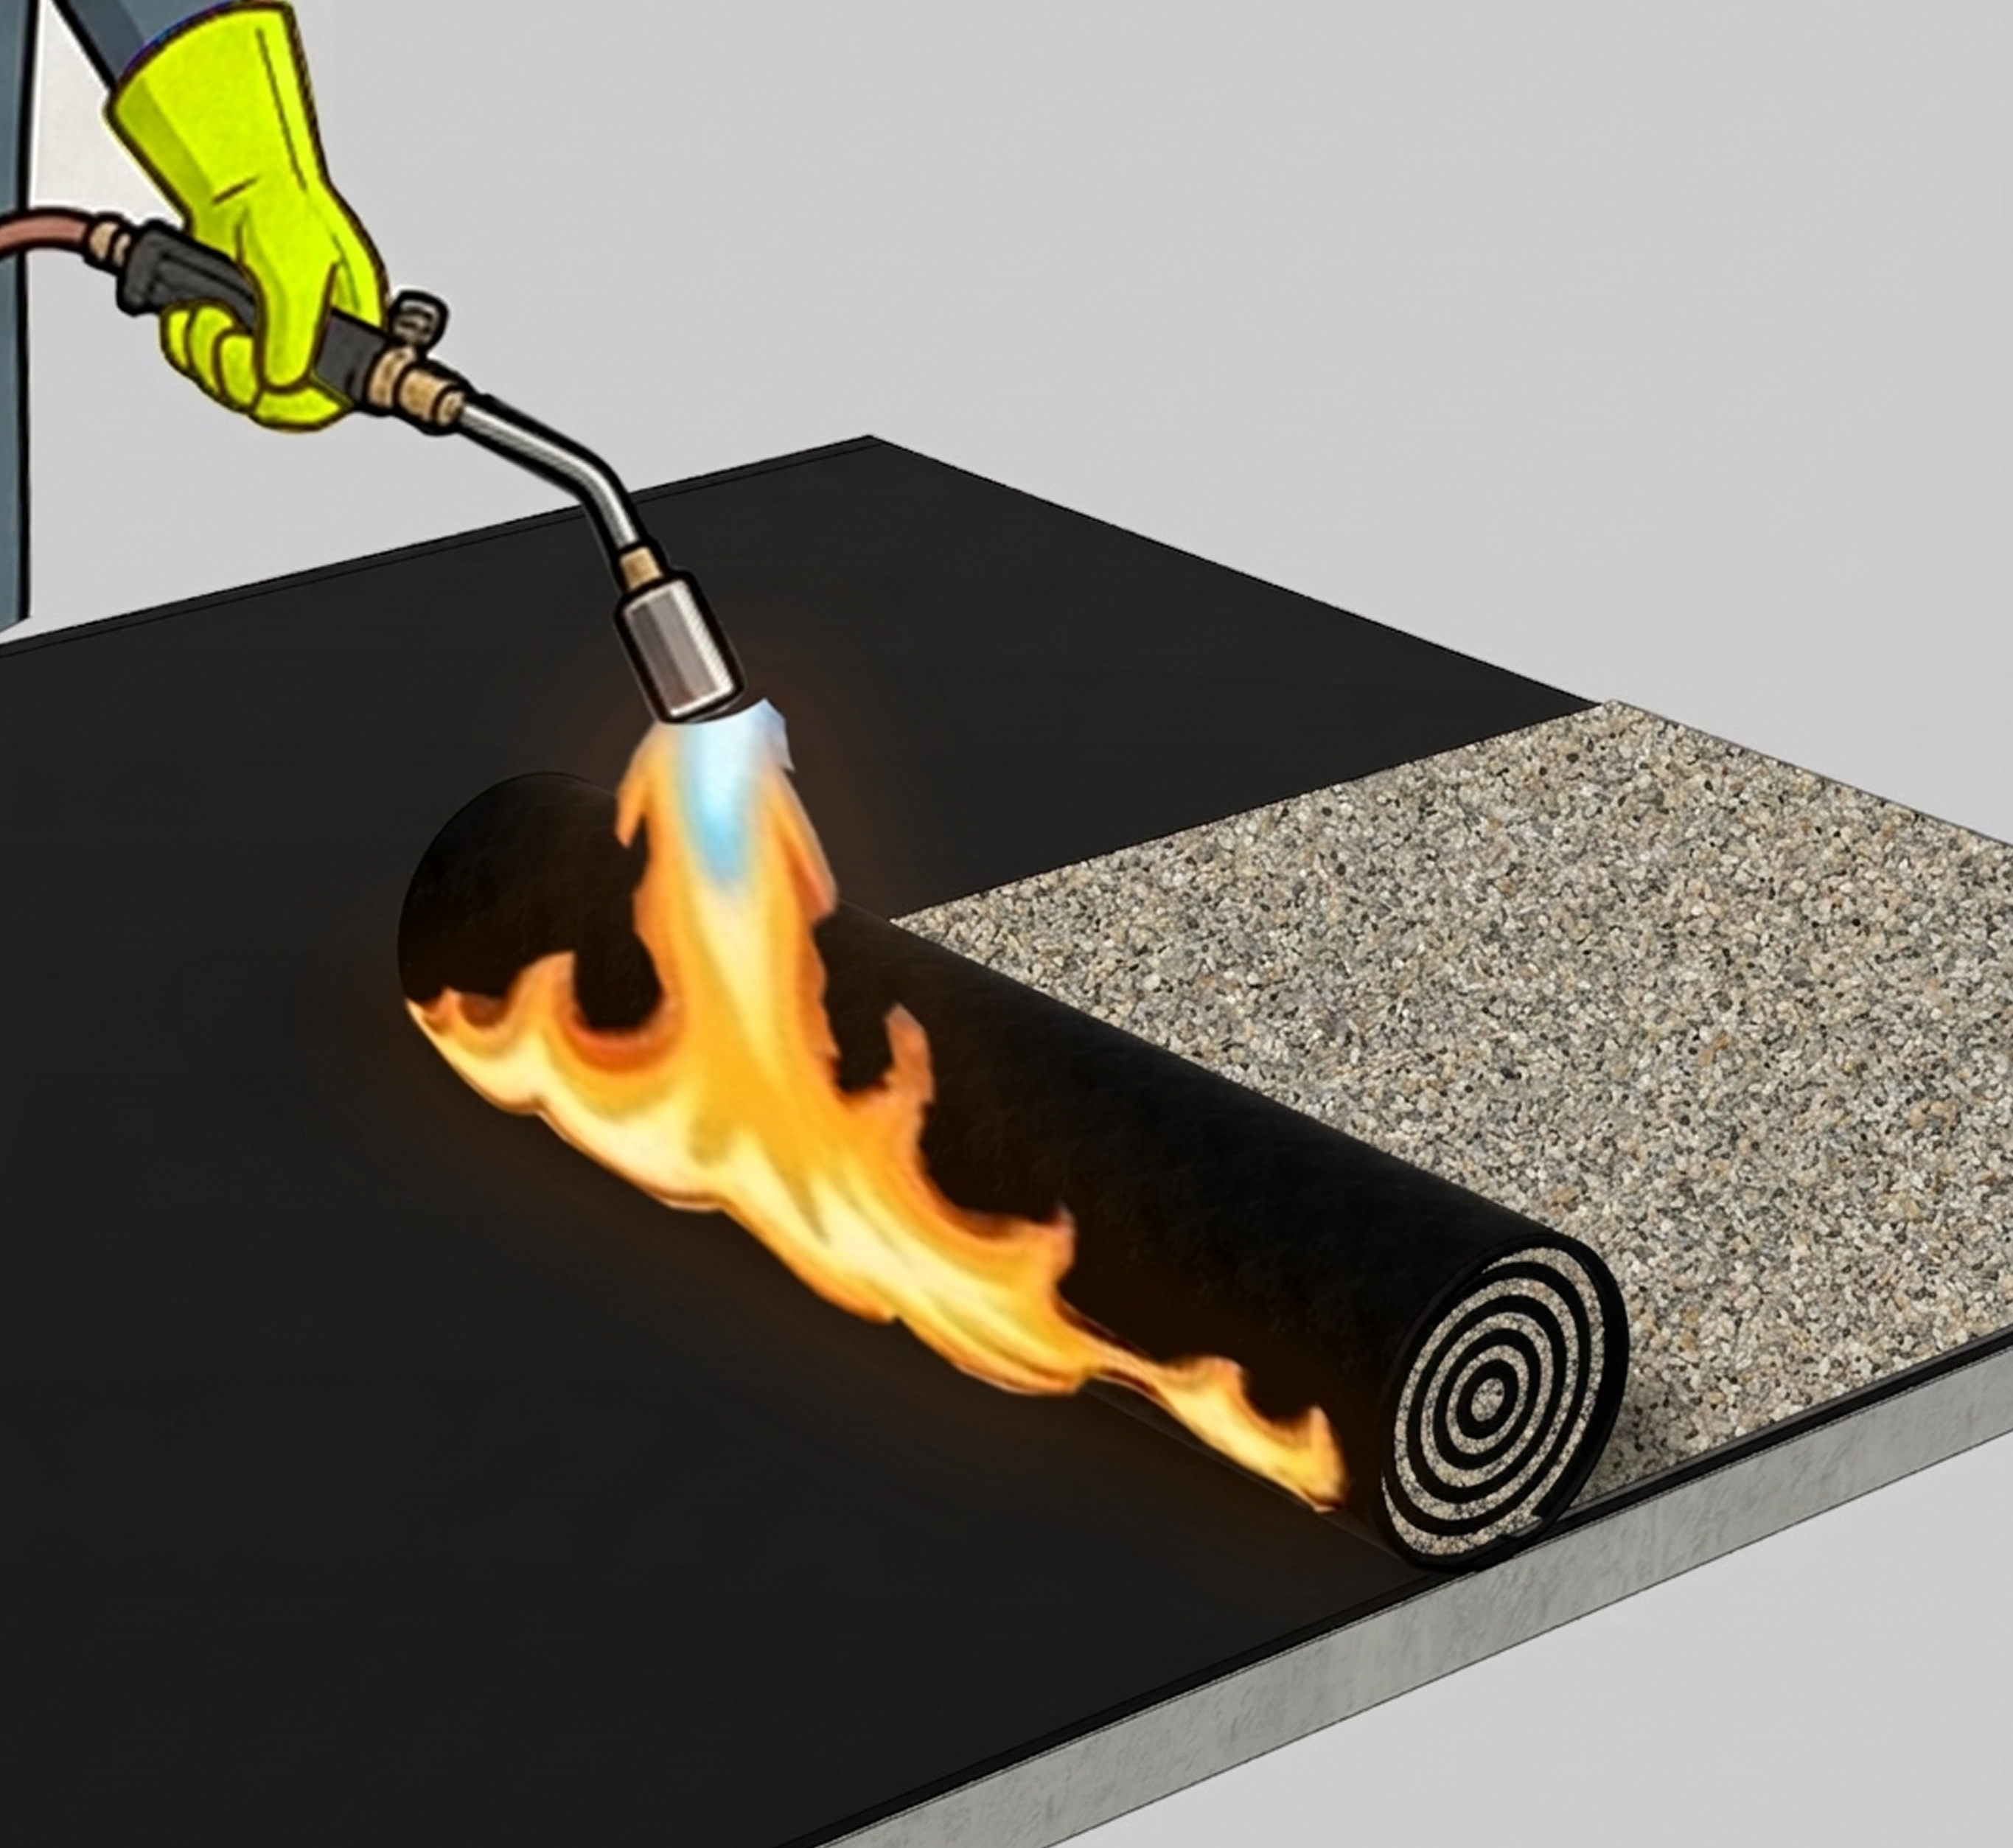
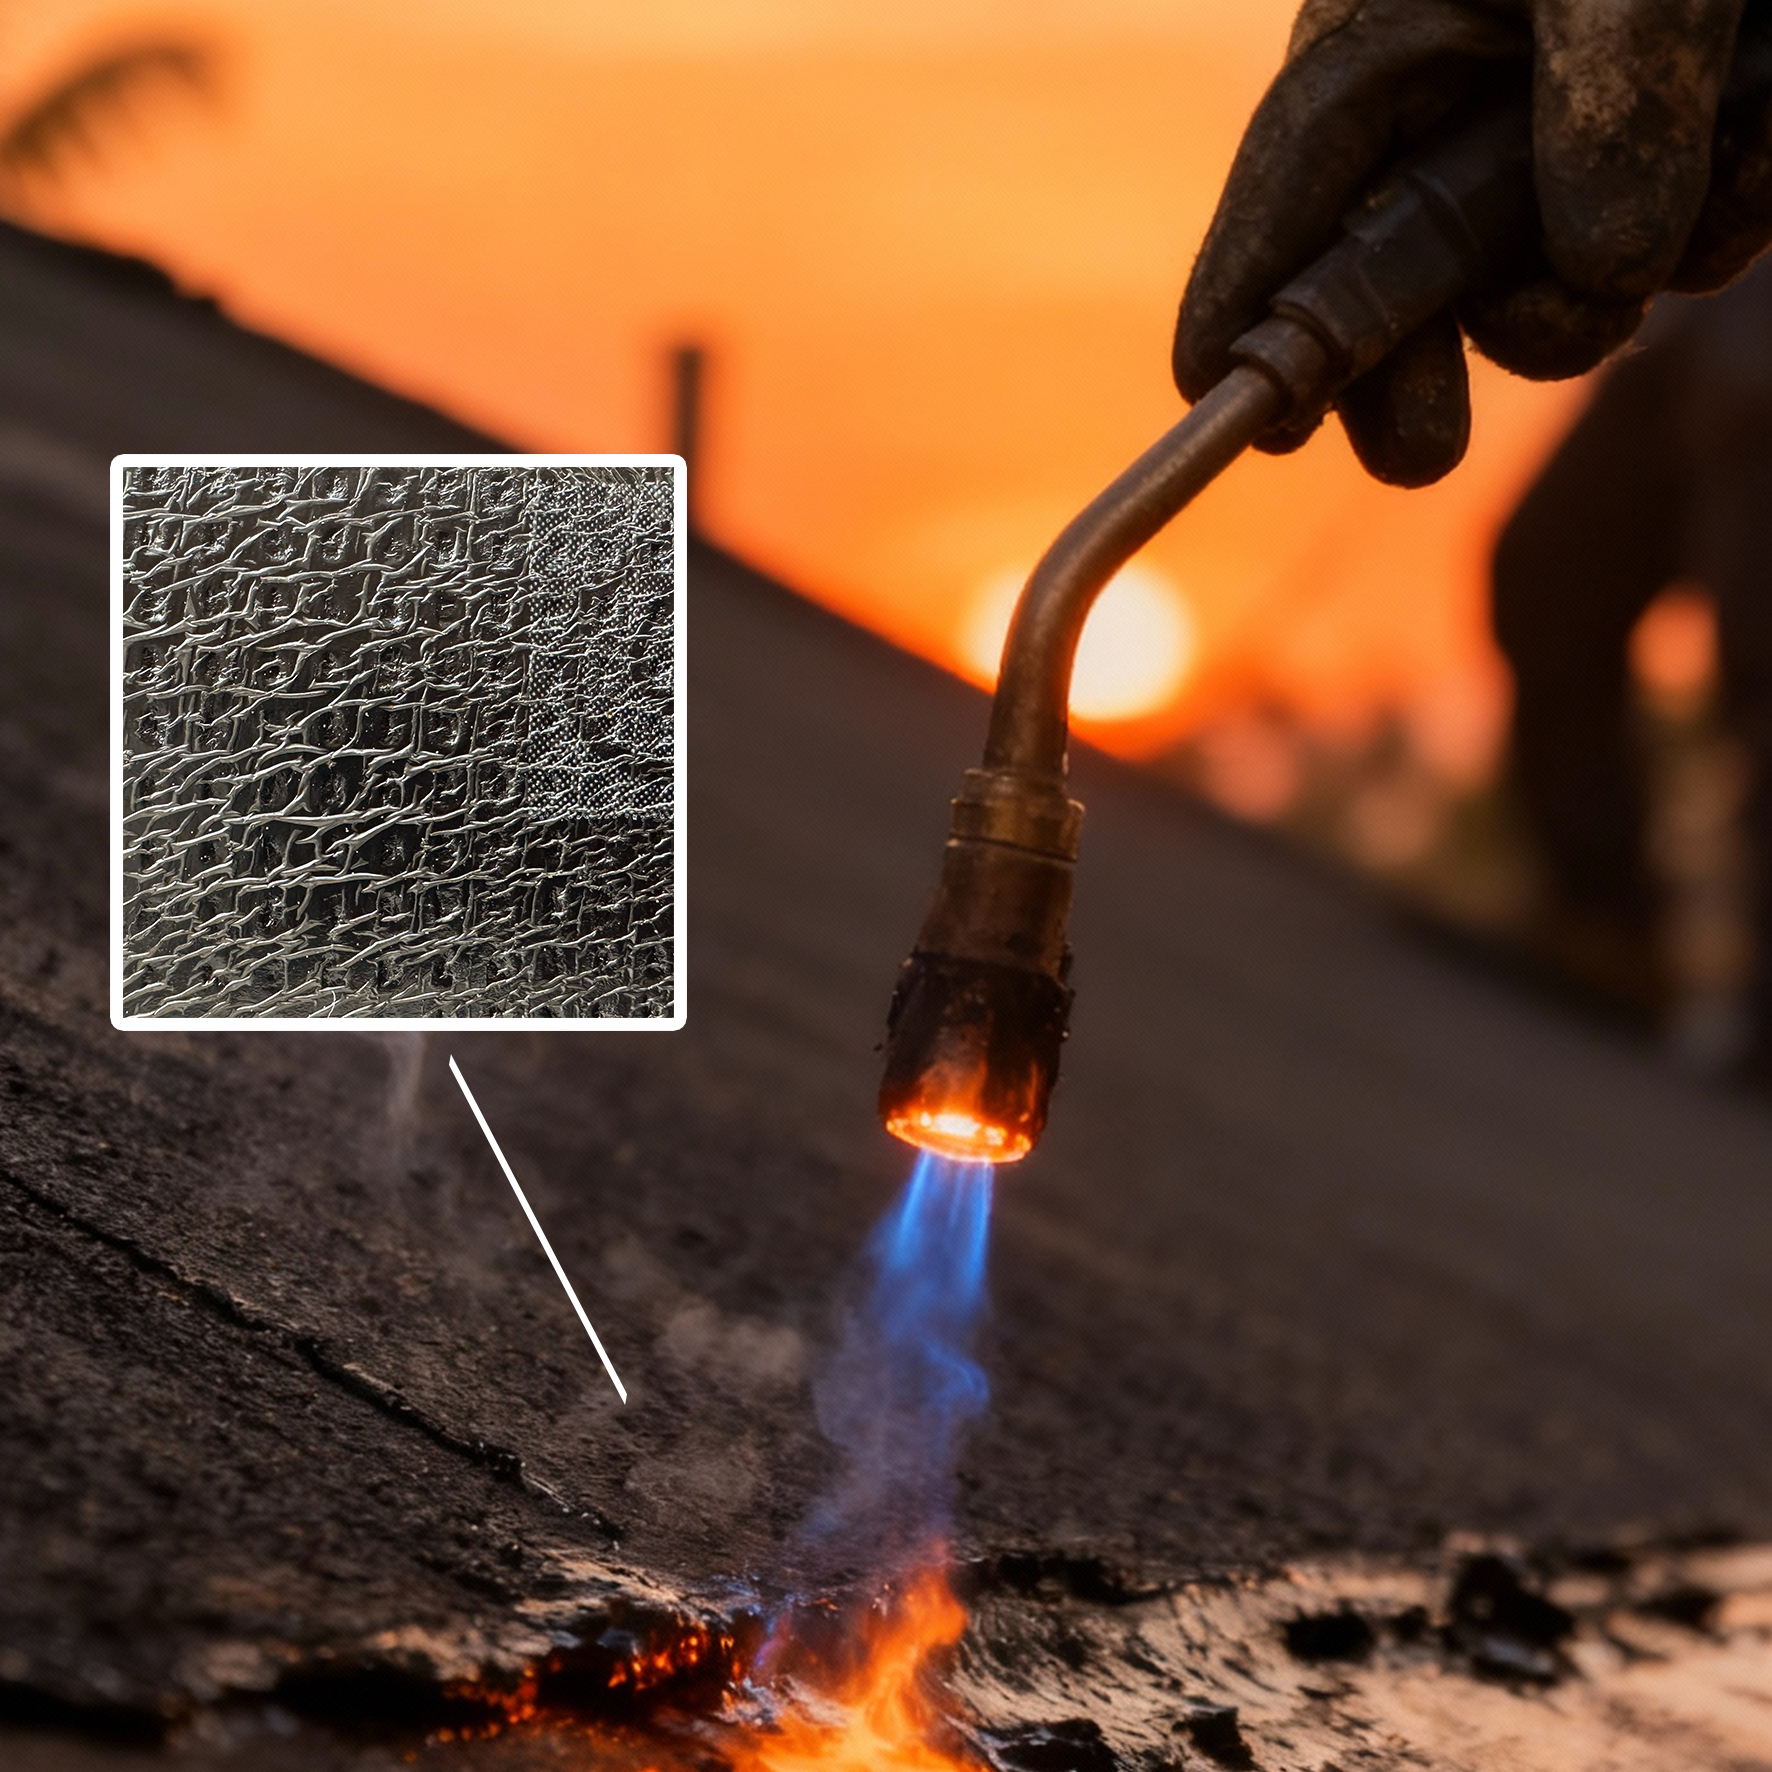
3. Lay the Casali membrane over the prepared surface. Heat the underside of the membrane with a gas torch while gradually unrolling it. Apply heat evenly to melt the bituminous compound, ensuring proper fusion and strong adhesion to the primed substrate.
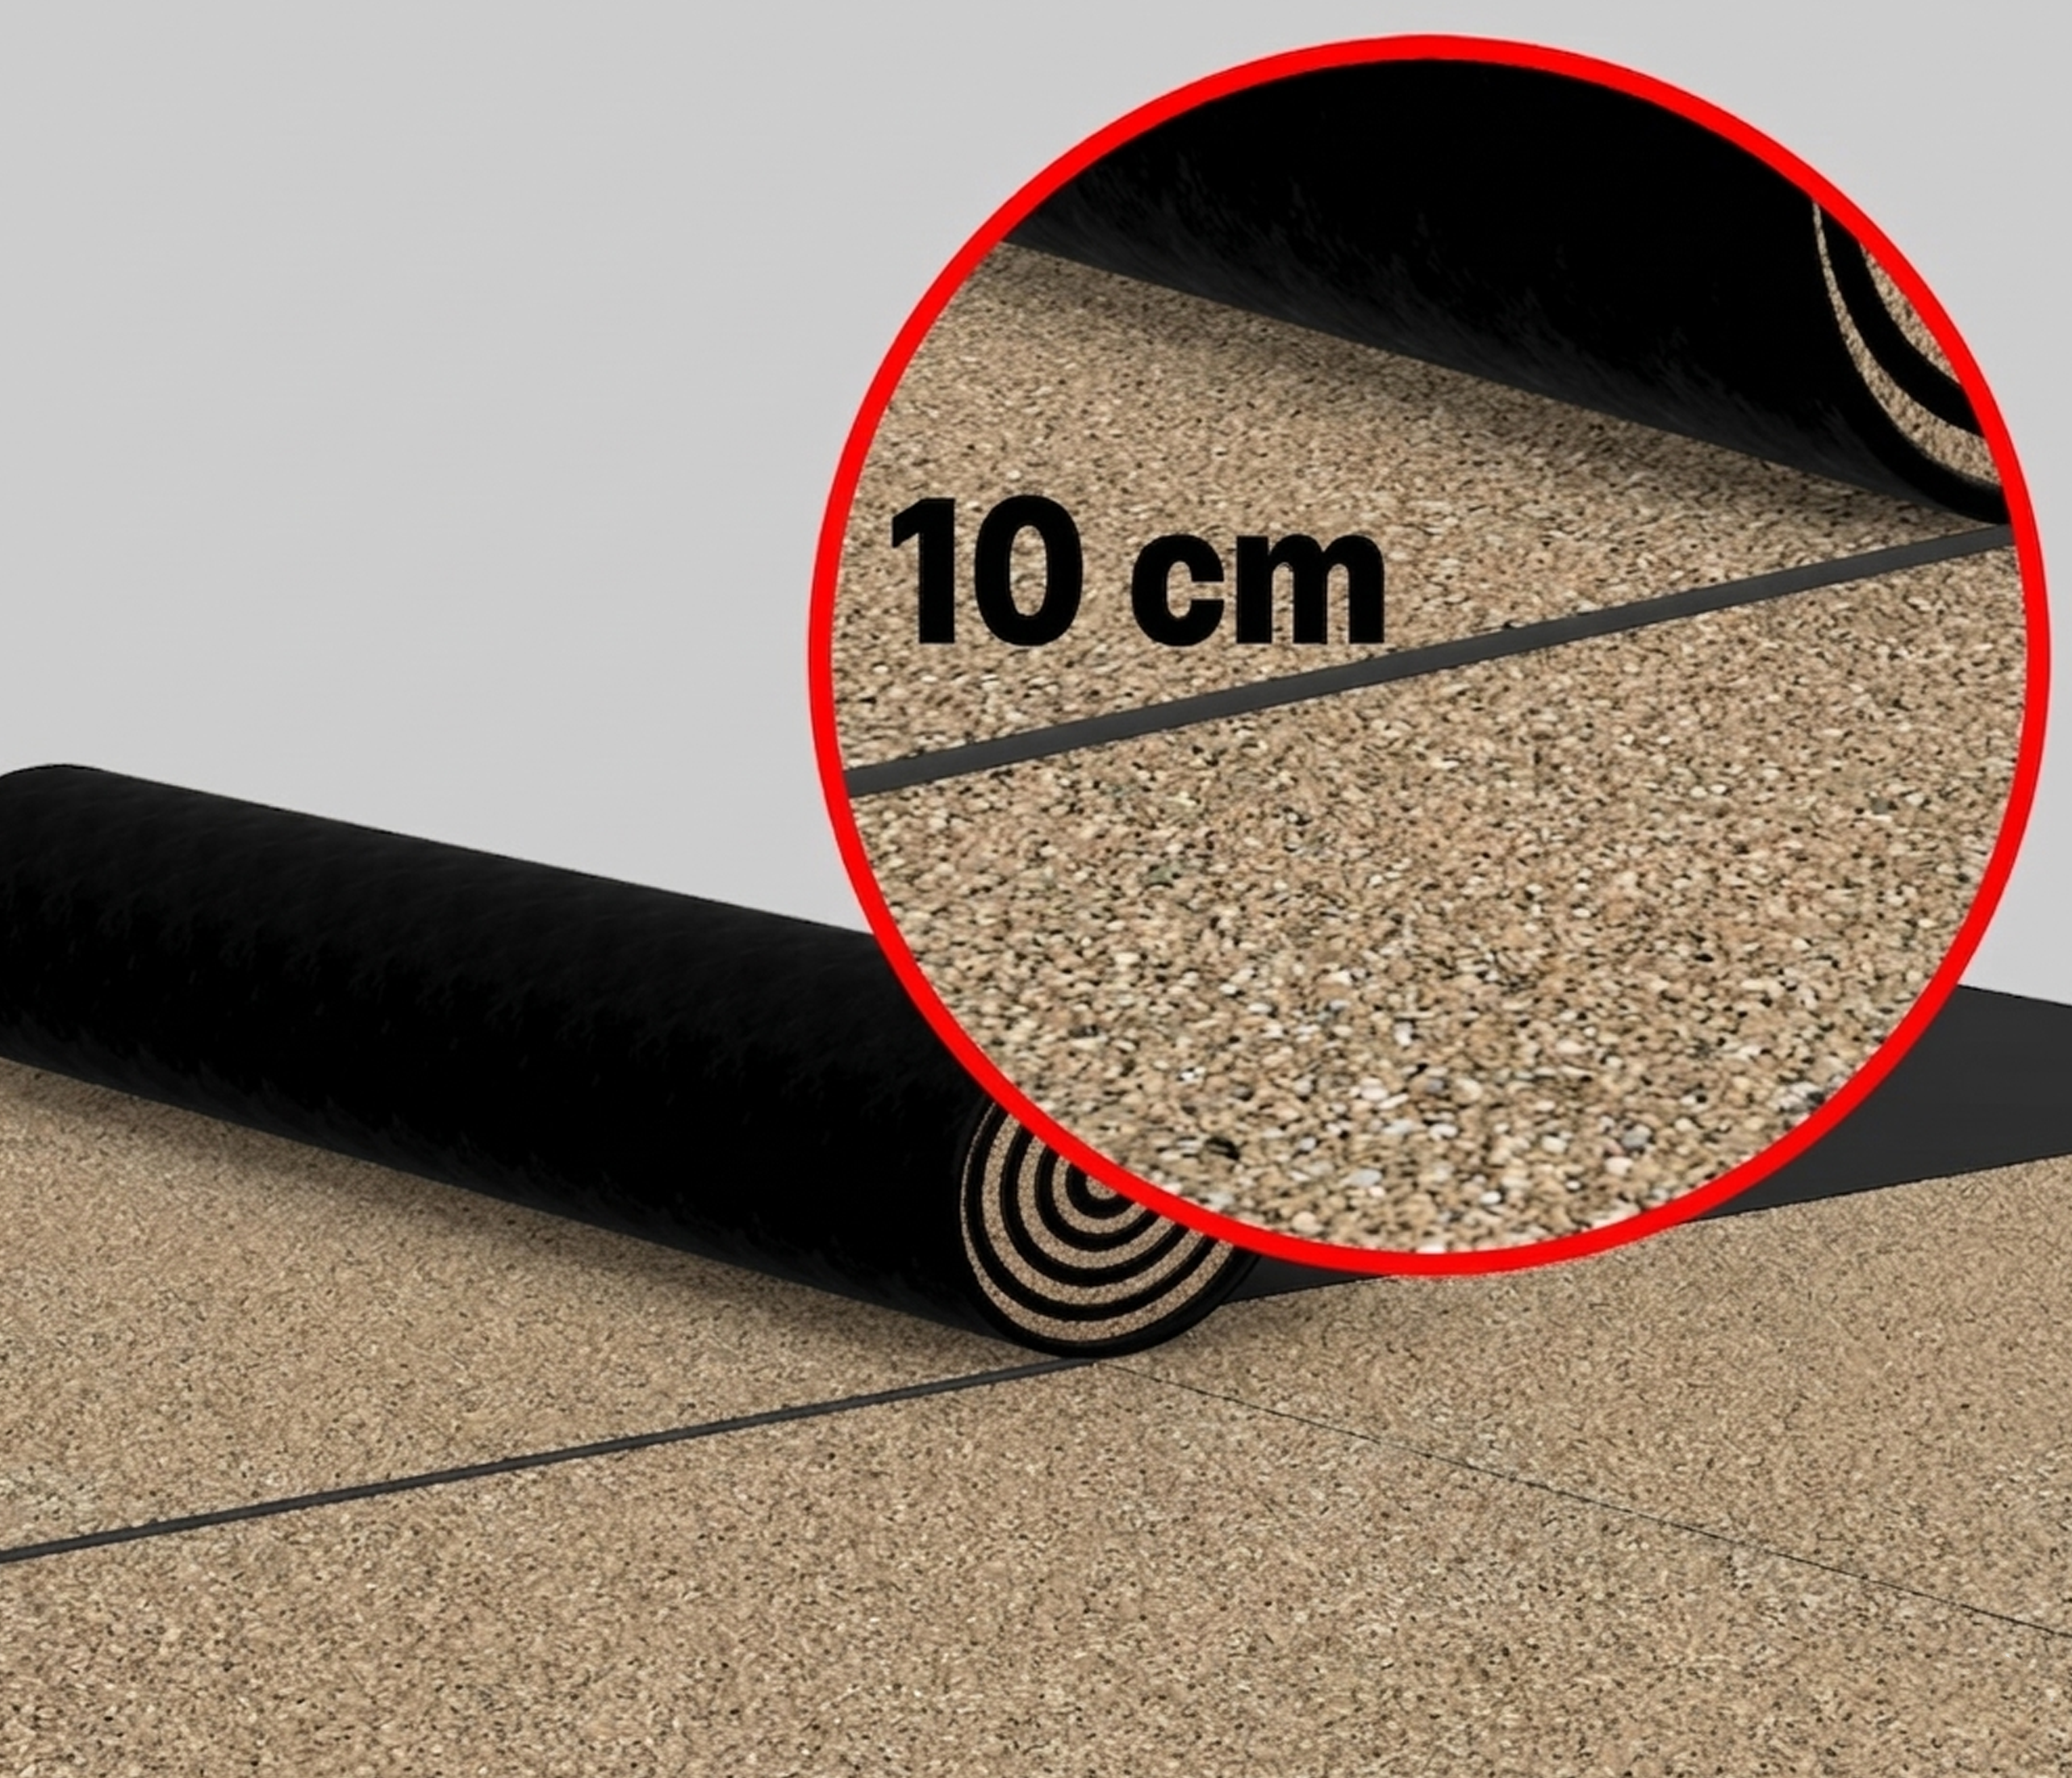
4. Install each membrane sheet with an overlap of 10 cm. Carefully heat the overlapping areas and press firmly to ensure a secure and watertight bond.
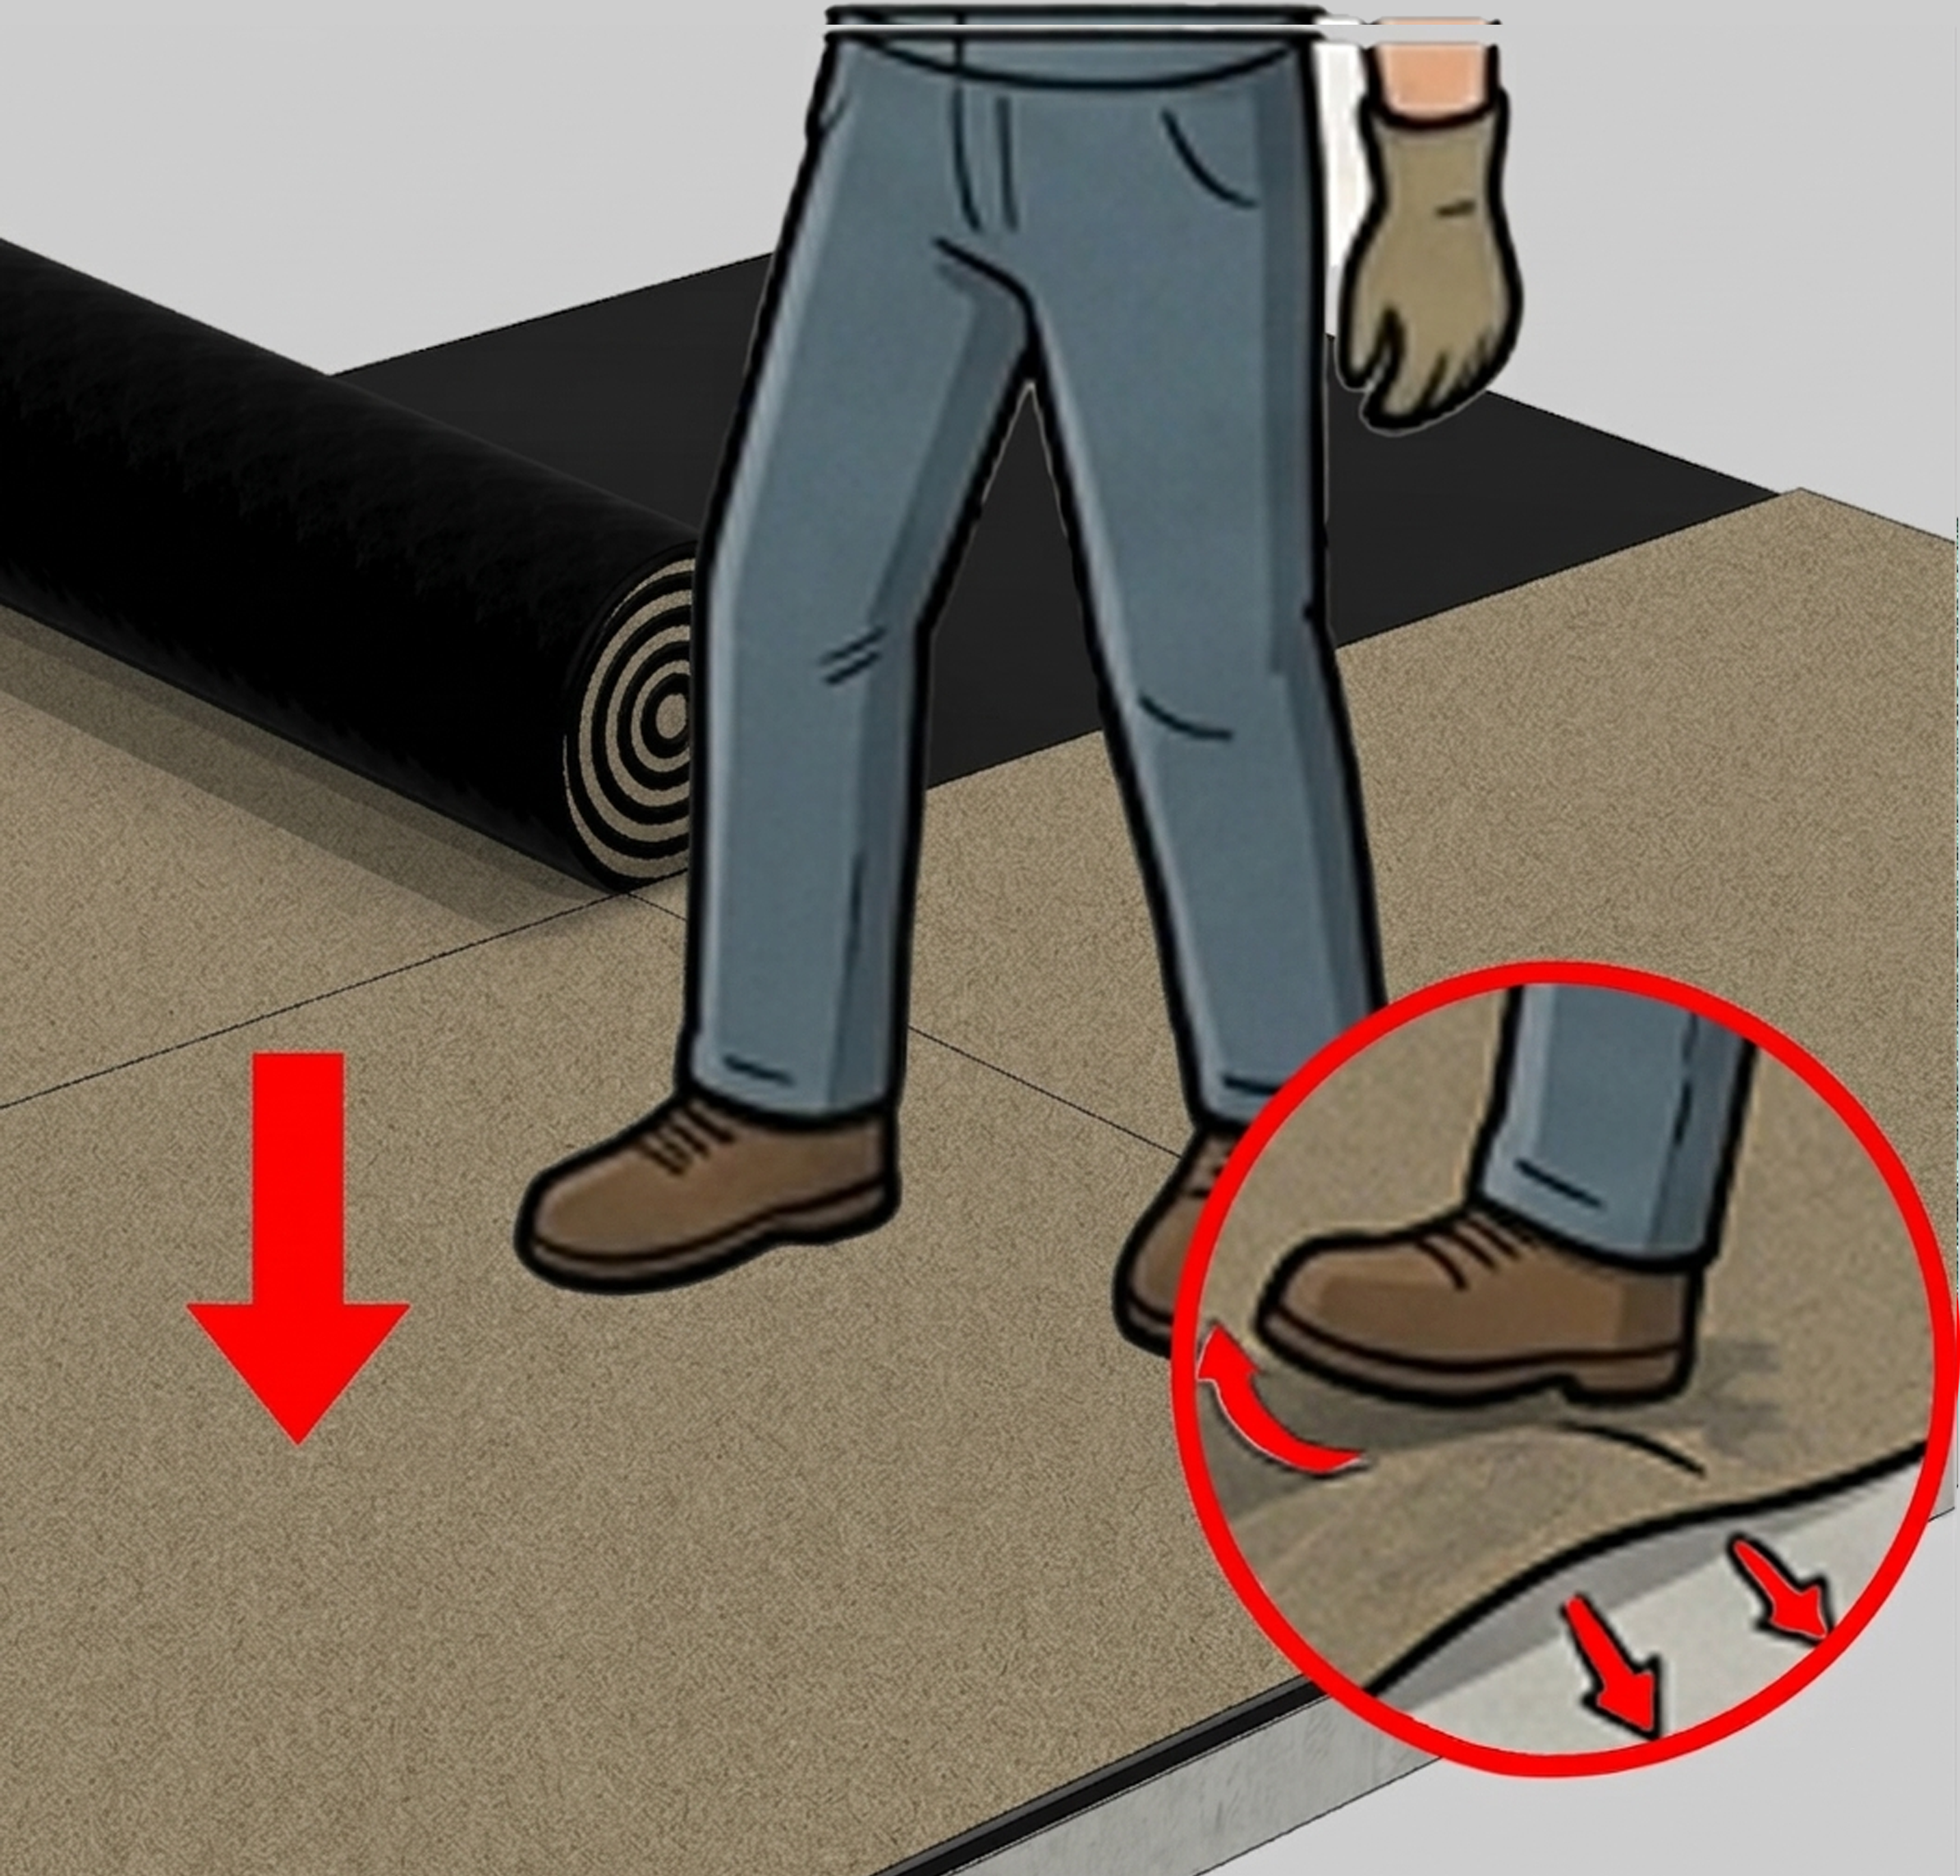
5. Press the installed membrane using foot pressure or a roller to ensure full contact with the substrate and to eliminate trapped air or bubbles.
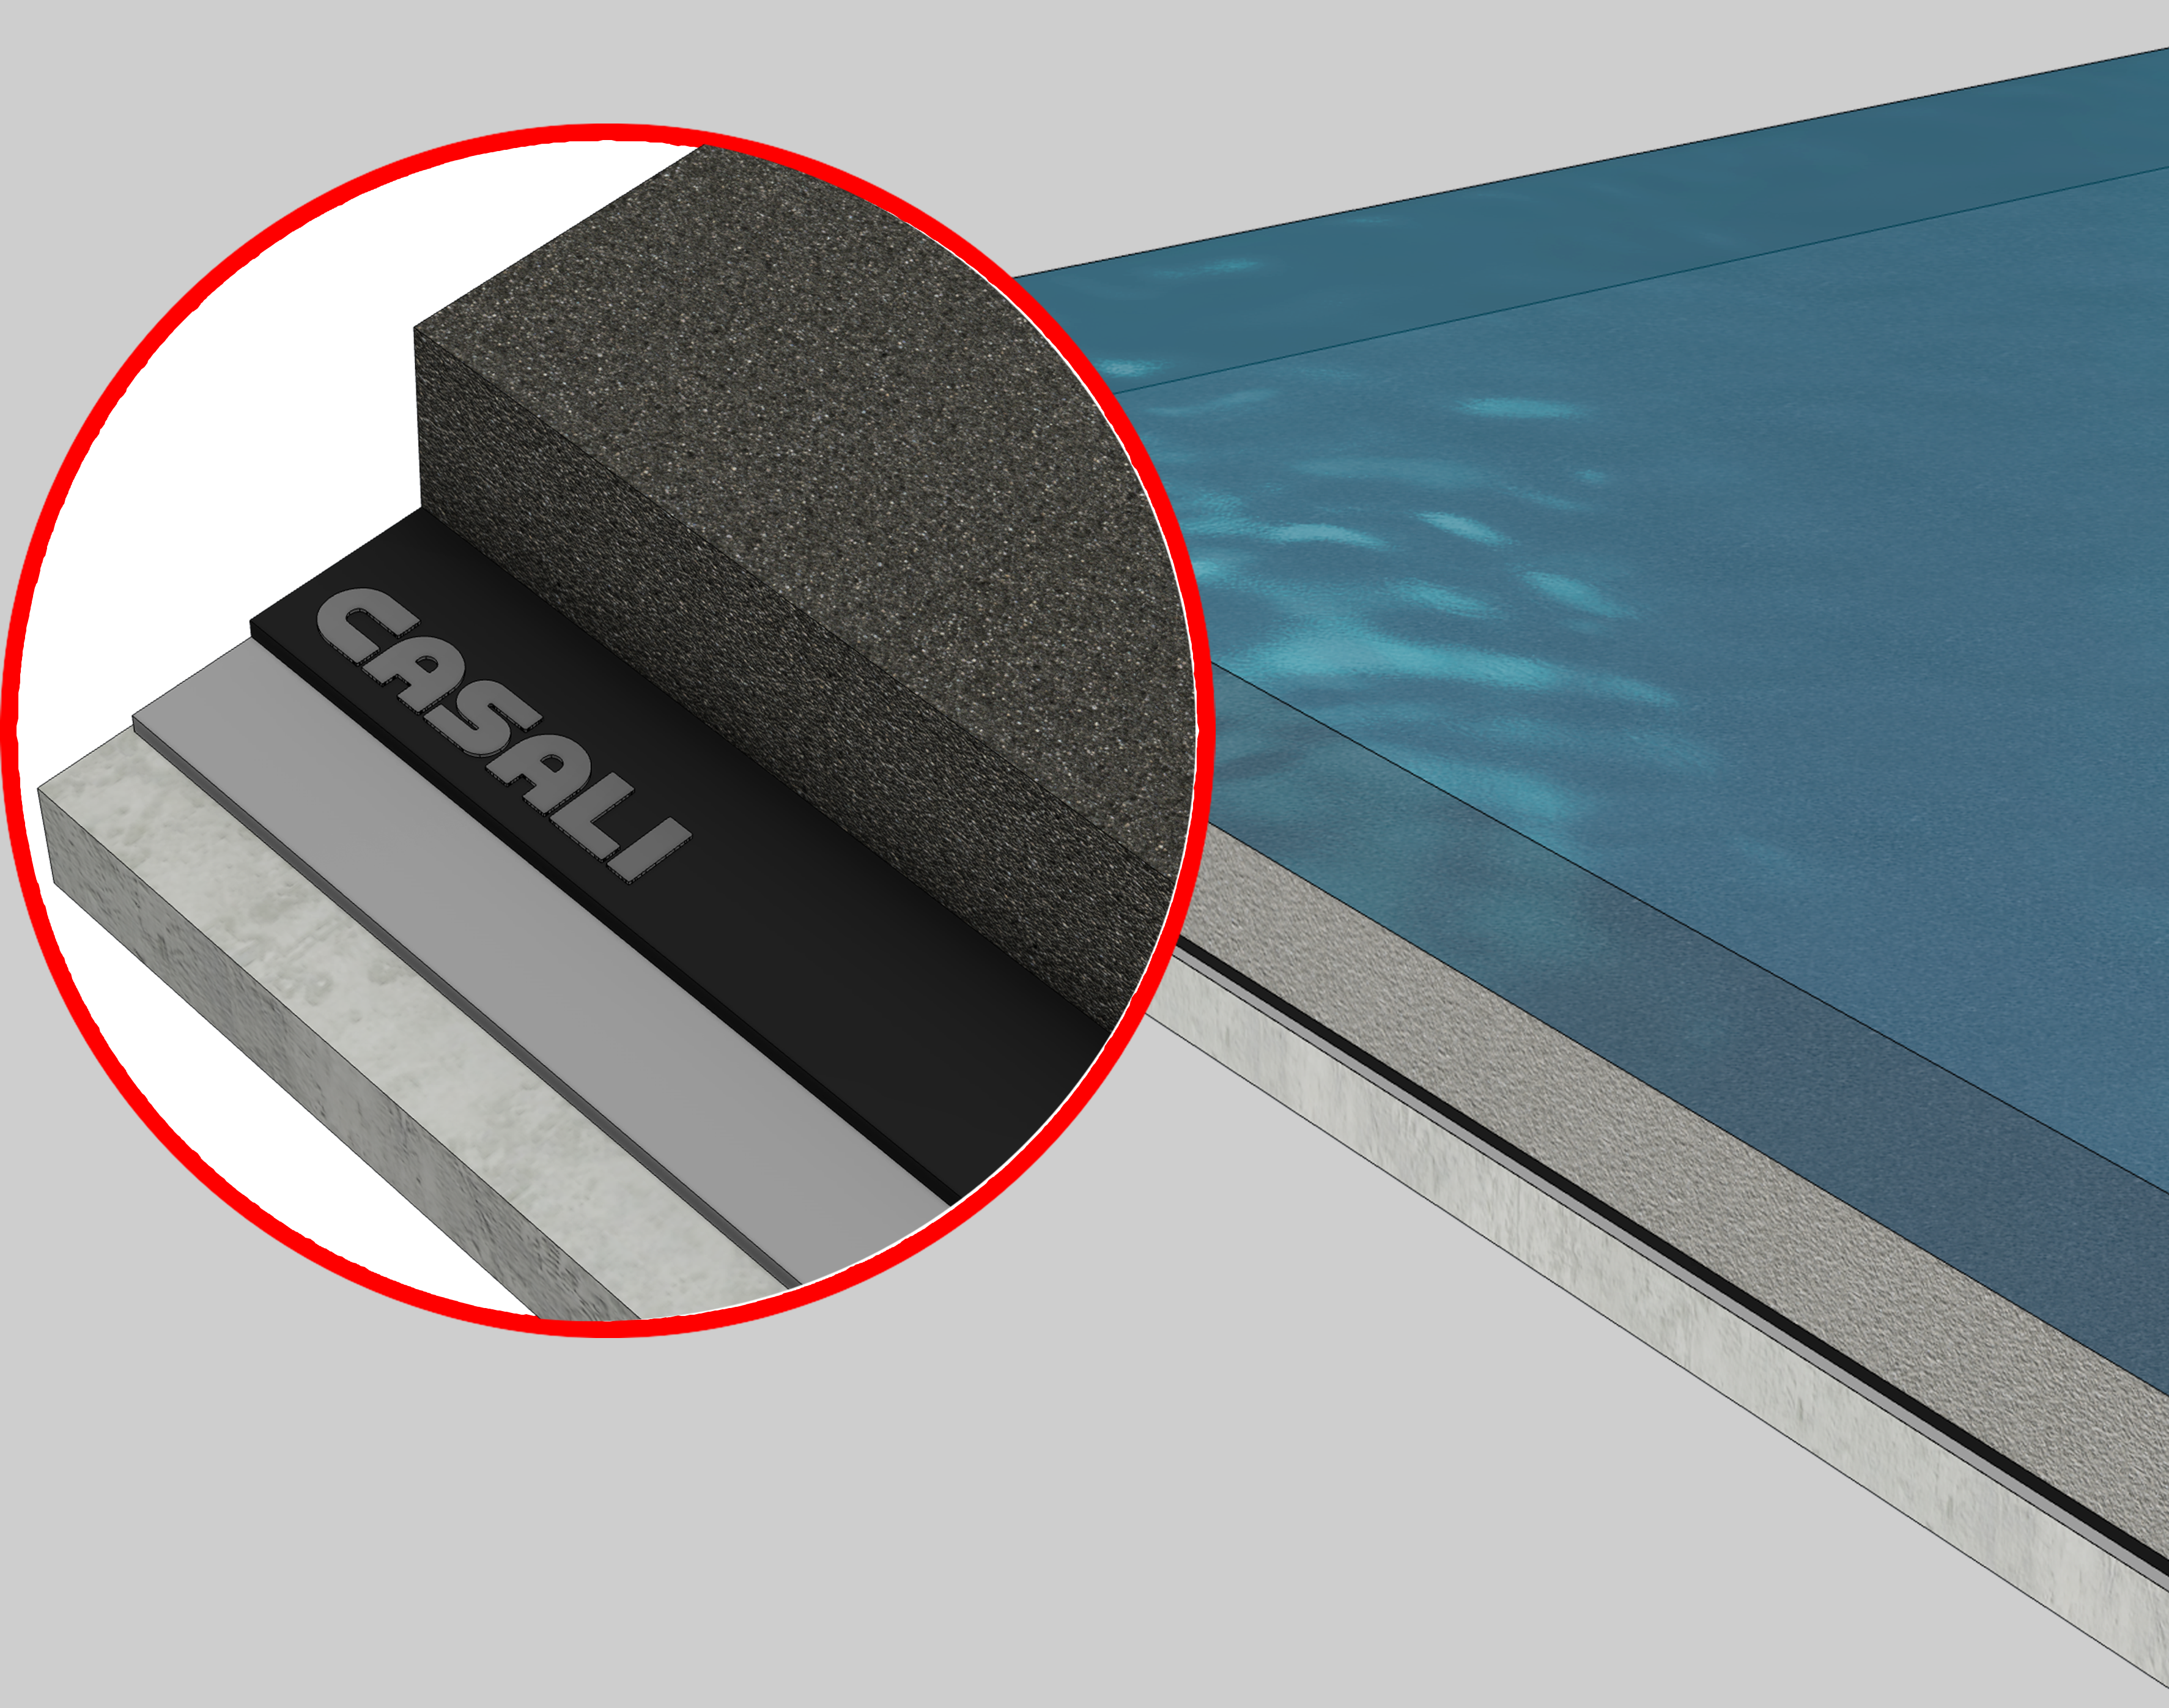
6. After the membrane installation is completed and the membrane has cooled down, conduct a 7-day flood test to verify the integrity of the waterproofing system. Upon successful completion of the flood test, install a screed layer with a minimum thickness of 5 cm.



 Bahasa




.jpg "Image")
.jpg "Image")